Did you know that the Firewall can block certain programs? Check out this guide to find out more.
4. Delete files from Steam directory

- Go to Steam’s installation directory. (By default, it should be C:Program FilesSteam or C:Program Files (x86)Steam).
- Delete all files except Steam.exe and Steamapps folder.
- Restart your computer.
- After your computer boots, go to Steam’s installation directory again and run Steam.exe.
5. Use the Registry Editor
- Press Windows Key + R and type regedit. Click OK or press Enter.

- Go to the following folder:
HKEY_CURRENT_USERSoftwareValveSteam - In the right pane click on Offline DWORD and set its Value Data to 0.
- Close the Registry editor, restart your computer and check if the problem is resolved.

Can’t access Registry Editor? Fix the issue quickly using these 4 steps.
6. Copy the Steam files from another computer

In order to complete this solution, you’ll need another computer with a working version of Steam and a USB flash drive.
- On another device, copy all files from Steam’s installation directory, except Steamapps folder.
- Connect the USB flash drive to the initial PC and paste all the files to your Steam installation directory.
- When asked to overwrite files, click Yes.
- Run Steam.exe to check if the issue is resolved.
7. Add -tcp parameter to Steam shortcut
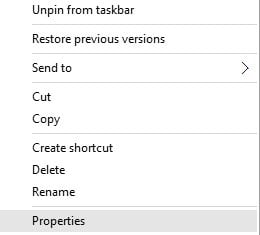
- Locate Steam shortcut and right-click it.
- Choose Properties from the menu.
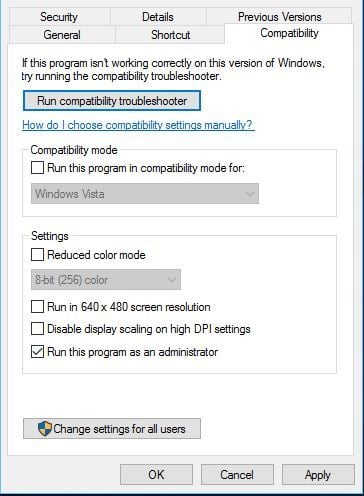
- Go to the Shortcut tab and, in the Target section, add -tcp after the quotation marks.
- Click Apply and OK to save changes.
- Optional: Go to the Compatibility tab and check Run this program as administrator.
- Run the shortcut and check if the issue is resolved.

8. Turn off Proxy settings in Internet Explorer
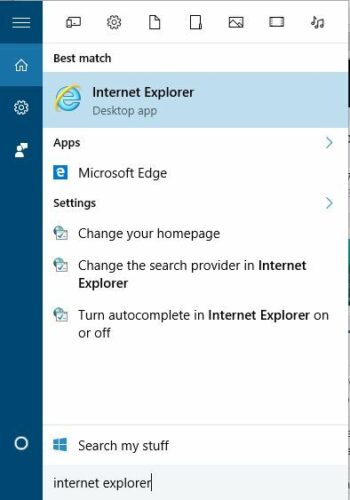
- Press Windows Key + S and type Internet Explorer. Choose Internet Explorer from the list of results.
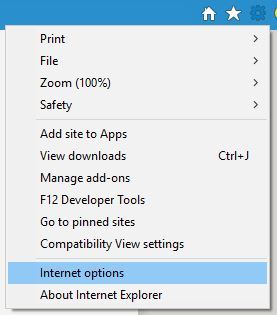
- Click on the Tools icon in the top right corner and choose Internet Options from the menu.
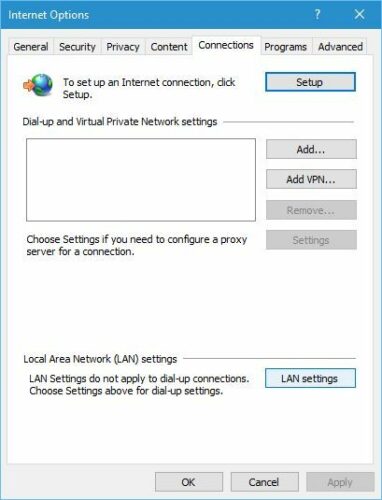
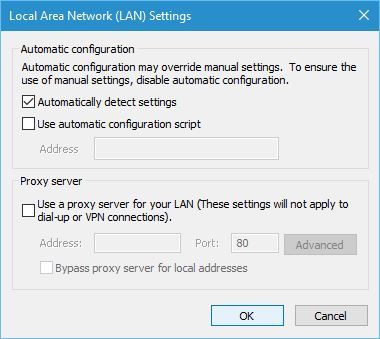
- In the Internet Options window, go to the Connections tab and click on LAN settings.
- Make sure Use a proxy server for your LAN is not checked. Click OK to save changes.
Sometimes, you can’t disable the proxy We’ve prepared a simple guide for such a situation.
9. Use Google’s DNS
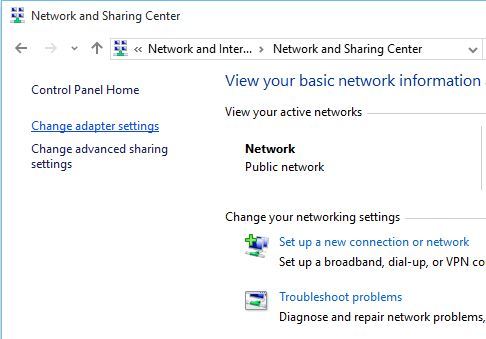
- Press Windows Key + S and type Network and Sharing.
- Choose Network and Sharing Center from the list.
- Click on Change adapter settings.
- You should see the list of the network adapter. Right-click your current network adapter and choose Properties.
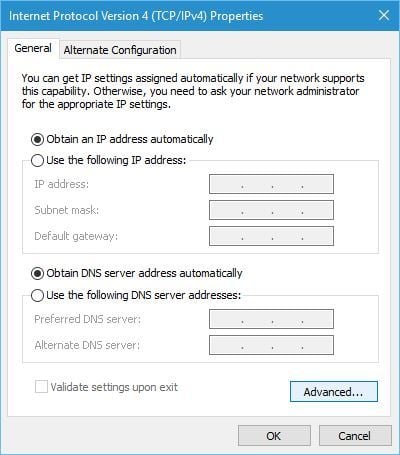
- Select Internet Protocol Version 4 (TCP/IPv4) and click Properties.
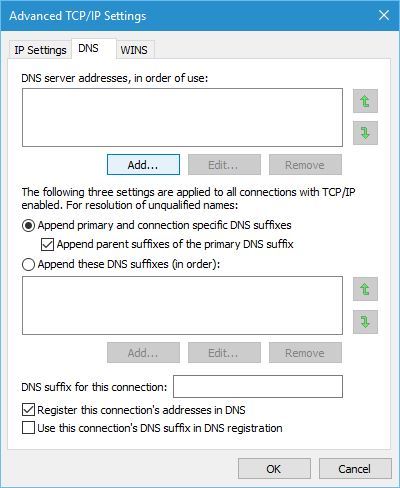
- Click on the Advanced button.
- Go to the DNS tab. (If you have any addresses in the DNS section, write them down in case you need them.)
- Click Add and enter 8.8.8.8 and/or 8.8.4.4.
- Save changes and restart your network connection.
- Try to start Steam again.

If you can’t reach your DNS server, see in this article a few simple steps that you can try to restore it.
10. Edit the hosts file
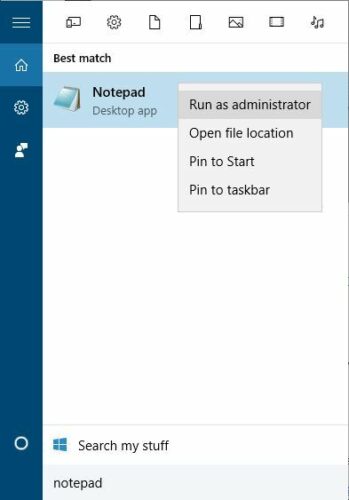
- Press Windows Key + S and type Notepad.
- Right-click Notepad from the list of results and choose Run as administrator.
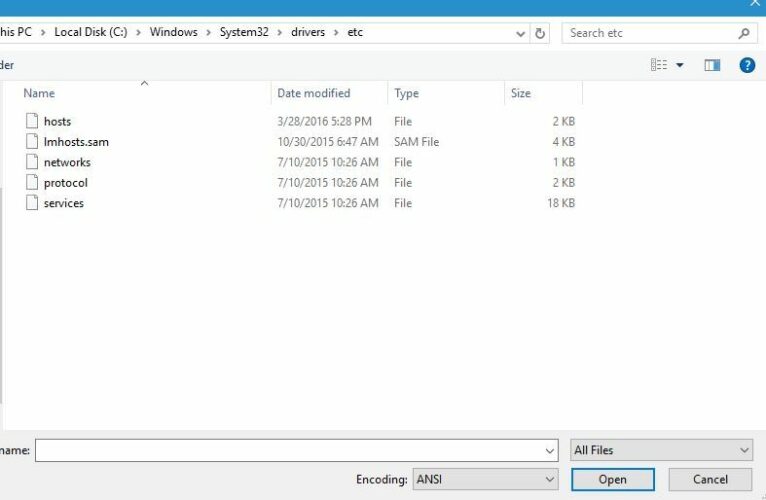
- When Notepad opens, go to File and Open.
- Navigate to this folder:
C:WindowsSystem32driversetc - Double click the hosts file to open it.
- If you don’t see any files make sure to change Text Documents to All Files in the bottom right corner.
- When hosts file opens add the following lines at the end:
68.142.122.70 cdn.steampowered.com208.111.128.6 cdn.store.steampowered.com208.111.128.7 media.steampowered.com
- Save changes and close Notepad.
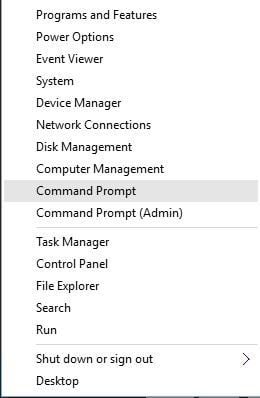
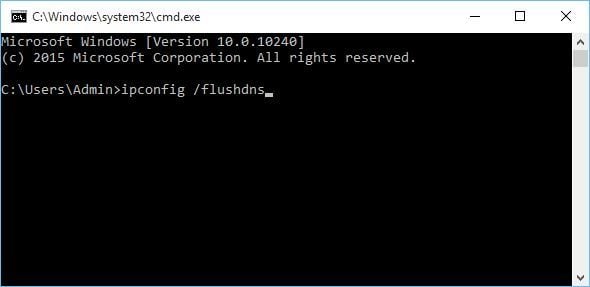
- Press Windows Key + X and choose Command Prompt from the menu.
- Copy the following command and press Enter to run it:
ipconfig /flushdns
- Close Command Prompt and start Steam again.
If you don’t like Notepad and you’re looking for an alternative, take a look at this list to find the best text editors right now.
According to some alternative solutions, you can fix this problem by also adding the following to the hosts’ file:
208.64.200.30 media1.steampowered.com208.64.200.30 media2.steampowered.com208.64.200.30 media3.steampowered.com208.64.200.30 media4.steampowered.com87.248.210.253 media.steampowered.com
11. Set Steam Client Services Startup Type to Automatic
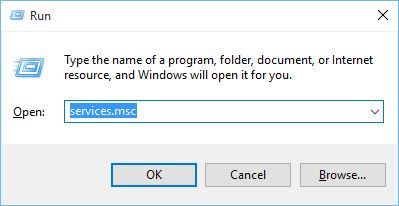
- Press Windows Key + R and type services.msc.
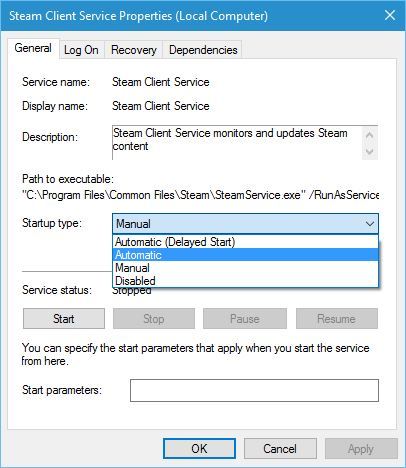
- Locate Steam Client Service and double click it.
- In Steam Client Service, locate Startup type and change it from Manual to Automatic.
- Click Apply and OK to save changes.
- Restart your computer and start Steam again.
12. Disable Steam from automatically starting
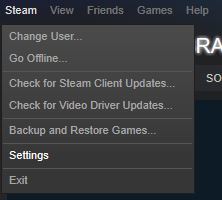
- Open Steam.
- Go to Steam and Settings.
- Go to the Interface tab and uncheck Run Steam when my computer starts.
- Click OK to save changes.
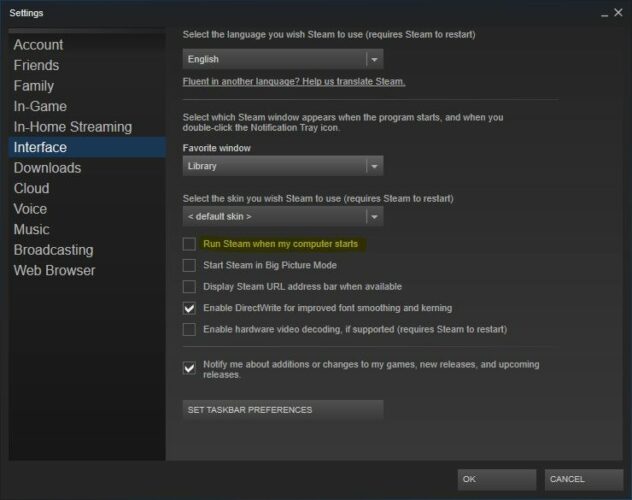
Although there were rare, users reported instances when Steam started, but it couldn’t establish a network connection. So this solution should prevent the error from occurring.
13. Run SteamTmp.exe
Last but not least, you should try running SteamTmp.exe from Steam’s installation directory.
Some users reported that this is how they fixed the problems, so you might want to try that.
The Steam needs to be online to update error can cause lots of problems with your gaming, but we hope that our solutions were helpful to you.
If you’re aware of an alternative solution, leave it in the comments section below. Also, leave there any other questions you may have and we’ll be sure to check them out.
Editor’s Note: This post was originally published in April 2016 and was completely revamped and updated in October 2020 for freshness, accuracy, and comprehensiveness.
Thank you for viewing the article, if you find it interesting, you can support us by buying at the link:: https://officerambo.com/shop/
No comments:
Post a Comment