
Vipre Antivirus Plus
Your antivirus prevents Windows 10 updates? Change to a protection software with less to zero impact on your operating system.
2. Set BITS Service to run automatically
- Press Windows Key + R to launch Run. Type services.msc and press Enter.

- Select Background Intelligent Transfer Service (BITS) in the newly opened window.
- Right-click BITS and select Properties.
- On the General tab, set the Startup Type to Automatic (Delayed Start). Click Start and then Apply.


3. Perform a Clean boot
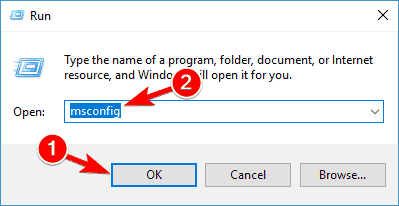
- Press Windows Key + R to open the Run dialog.
- Now enter msconfig and press Enter or click OK to proceed.
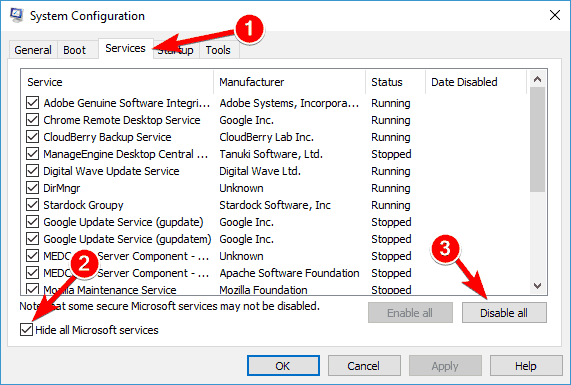
- Navigate to the Services tab and check Hide all Microsoft services.
- Now click Disable all button.
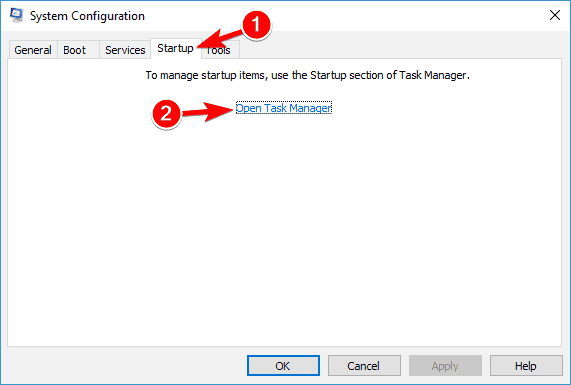
- Go to the Startup tab and click Open Task Manager.
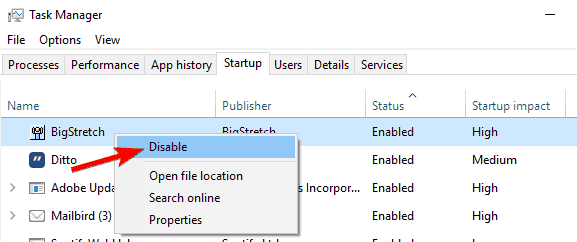
- Right-click the first entry on the list and choose Disable from the menu. (Repeat this step for all startup applications.)
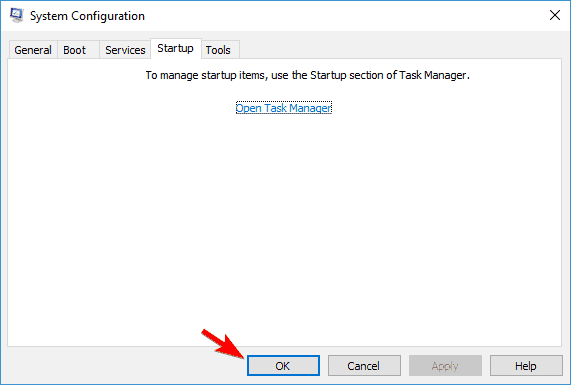
- After doing that, close Task Manager and go back to the System Configuration window.
- Click Apply and OK to save changes and restart your PC.
Once your PC restarts, check if the problem still persists. If not, it means that one of your startup applications was causing the issue.
Now you can enable the disabled applications and services by using the same method as above.
If the error appears again, you might have to disable all your services and startup applications one by one until you find the one that is causing the problem. Once you find it, disable it or remove it, and the issue will be permanently resolved.
It’s worth mentioning that many applications will leave certain files and registry entries even after uninstalling them, and these might interfere with other programs.
So it’s recommended to use an uninstaller software to remove problematic applications.
Such a tool removes all files and registry entries associated with the unwanted application. If you’re looking for uninstaller software, we would recommend IOBit Uninstaller.
The program is easy to install and to use and is excellent at eliminating any traces of deleted apps.

IObit Uninstaller
Make sure you remove unwanted programs and apps for good. IObit Uninstaller is the best tool to help you with that!
3. Create your own Repair. bat file
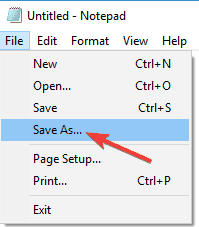
- Launch Notepad.
- Copy one of the following codes in the Notepad file:
net stop wuauservcd %systemroot%SoftwareDistributionren Download Download.oldnet start wuauservnet stop bitsnet start bits
or
net stop wuauservcd %systemroot%SoftwareDistributionren Download Download.oldnet start wuauservnet stop bitsnet start bitsnet stop cryptsvccd %systemroot%system32ren catroot2 catroot2oldnet start cryptsvc
- Go to File and choose Save As.
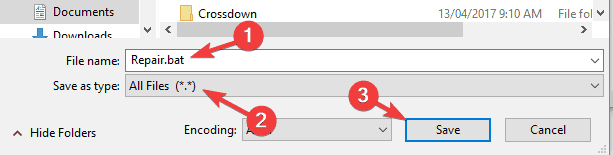
- Enter Repair.bat as the file name.
- In the Save as type box, click All Files (*.*) and save the file on your desktop.
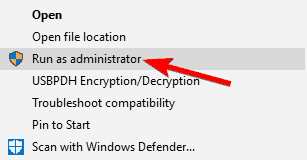
- Right-click the Repair.bat file and select Run as administrator.
- Type the administrator password if required, or click Continue.
- Try to install the build again. When the build has been installed, delete the Repair.bat file.
4. Make sure that Windows Defender Firewall service is running
- Open the Services window.
- Locate Windows Defender Firewall on the list.
- Check the status of Windows Defender Firewall service. If the service isn’t running, right-click it and choose Start from the menu.

After starting the Windows Defender Firewall service, check if the problem is resolved.
Note that Windows Update requires Windows Defender Firewall service to be activated.
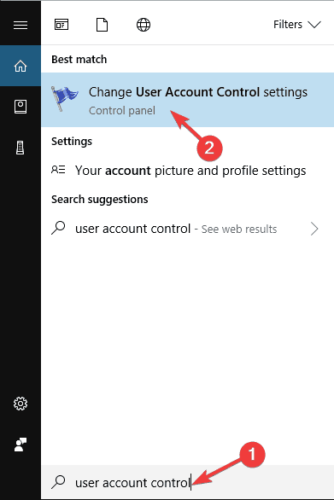
5. Change User Account Control settings
- Press Windows Key + S and enter user account control.
- Choose Change User Account Control settings.
- Move the slider all the way down to Never notify. Now click on OK to save changes.
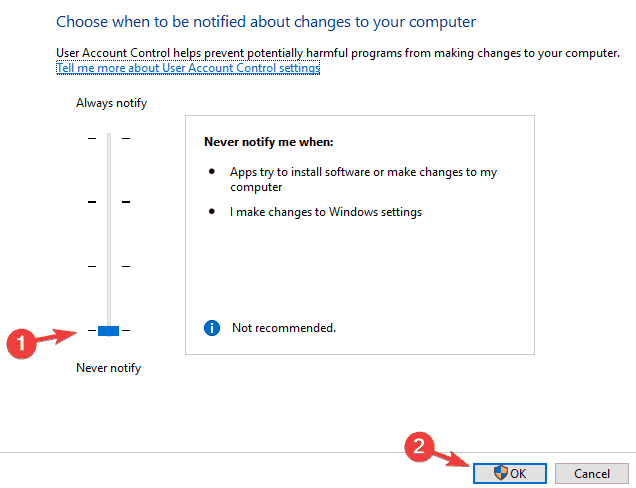
After doing that, User Account Control should be disabled and the problem will be resolved.
If you’re not familiar, User Account Control is a useful feature that prevents applications and users from running certain tasks that require administrative privileges.
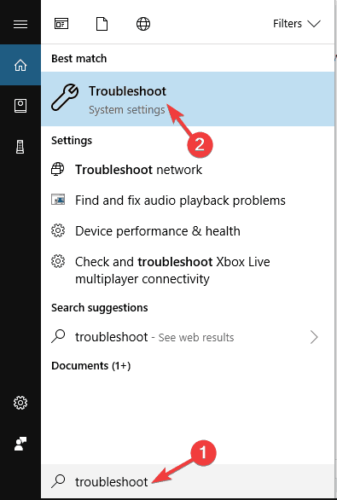
6. Run the Windows Update troubleshooter
- Press Windows Key + S and enter troubleshoot.
- Choose Troubleshoot from the menu.
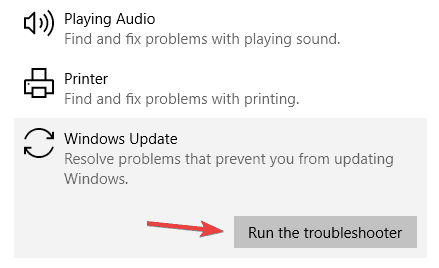
- Select Windows Update from the menu on the left and click Run the troubleshooter.
- Follow the instructions on the screen to complete the troubleshooter.
Once the troubleshooter is finished, the problem should be completely resolved.
On rare occasion, the troubleshooter itself freezes or won’t open. See this exhaustive guide to quickly get it back on track again.
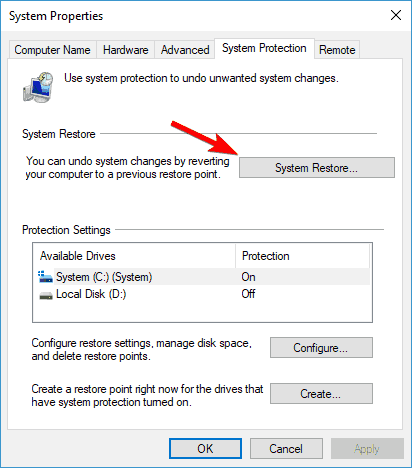
8. Perform a System Restore
- Press Windows Key + S and enter system restore.
- Select Create a restore point from the list.
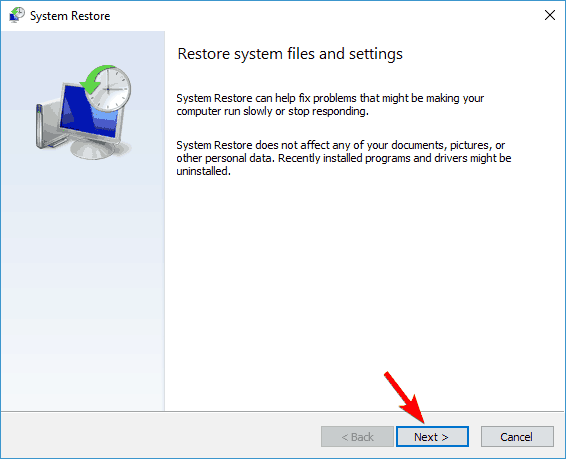
- Click the System Restore button.
- Now click Next.
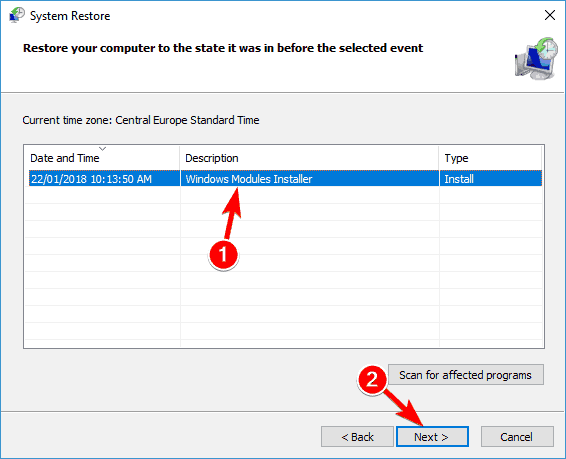
- If available, check Show more restore points and pick the desired restore point.
- Now click the Next button. Follow the instructions on the screen to complete the restoration process.

Once your PC is restored to the original state, check if the problem still persists.
These solutions should help whenever you’re having trouble installing the latest Windows 10 build in the Insider OS.
If you have other suggestions on the topic, feel free to share them with us in the comments.
Editor’s Note: This post was originally published in July 2016 and was completely revamped and updated in October 2020 for freshness, accuracy, and comprehensiveness.
Thank you for viewing the article, if you find it interesting, you can support us by buying at the link:: https://officerambo.com/shop/
No comments:
Post a Comment