Do you need to ‘safely remove’ or ‘eject’ a USB flash drive before unplugging it from your computer? It depends. If you use Windows 10 version 1903 or newer, Windows now automatically disables write caching for USB drives and you won’t find the ‘eject’ option because it’s no longer needed.
Last year, Microsoft introduced a new policy for Windows 10 that instructs the operating system to allow you to remove the device without using safely remove hardware or eject option.
The reason users are advised to use “eject” or “safely remove hardware” option is ‘write caching’.
When the write caching is on and you’ve stopped the data transfer, your USB device still caches some part of the data to complete at a later time. If you click on the ‘eject’ button, Windows will tell the USB drive to finish up and flush the data hanging out in the cache.
We all know that one person who will say that you should always, always safely remove or eject any kind of USB drive. But you do you always need to “eject” USB flash drives? On Windows 10 with version 1903 or newer, not usually.
By default, Windows 10 allows you to remove the device without using the eject process – as long as you don’t remove a drive while transferring data. If you do that, you’ll obviously corrupt that data regardless of the caching system, but that’s a no-brainer.
How to never use the “Safely Remove” option again on Windows 10
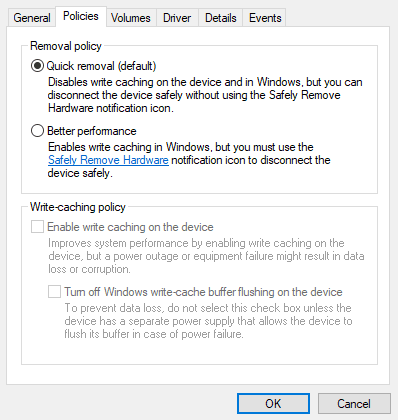
Windows comes with different policies you can select for USB storage devices. By default, Windows 10 is set to use the “quick removal” policy that ensures devices can be disconnected from your computer directly.
Another option is “Better performance” that improves performance but requires you to use the “Safely remove hardware” option.
Quick Removal could reduce the risk of data corruption if you like to pop USB drives out at your leisure. It does this by disabling write caching. By default, Windows uses Quick Removal, so you can remove your drives safely.
Since each storage device has its own specific policy setting, you can ensure that caching is disabled if you want to quickly remove your USB drive.

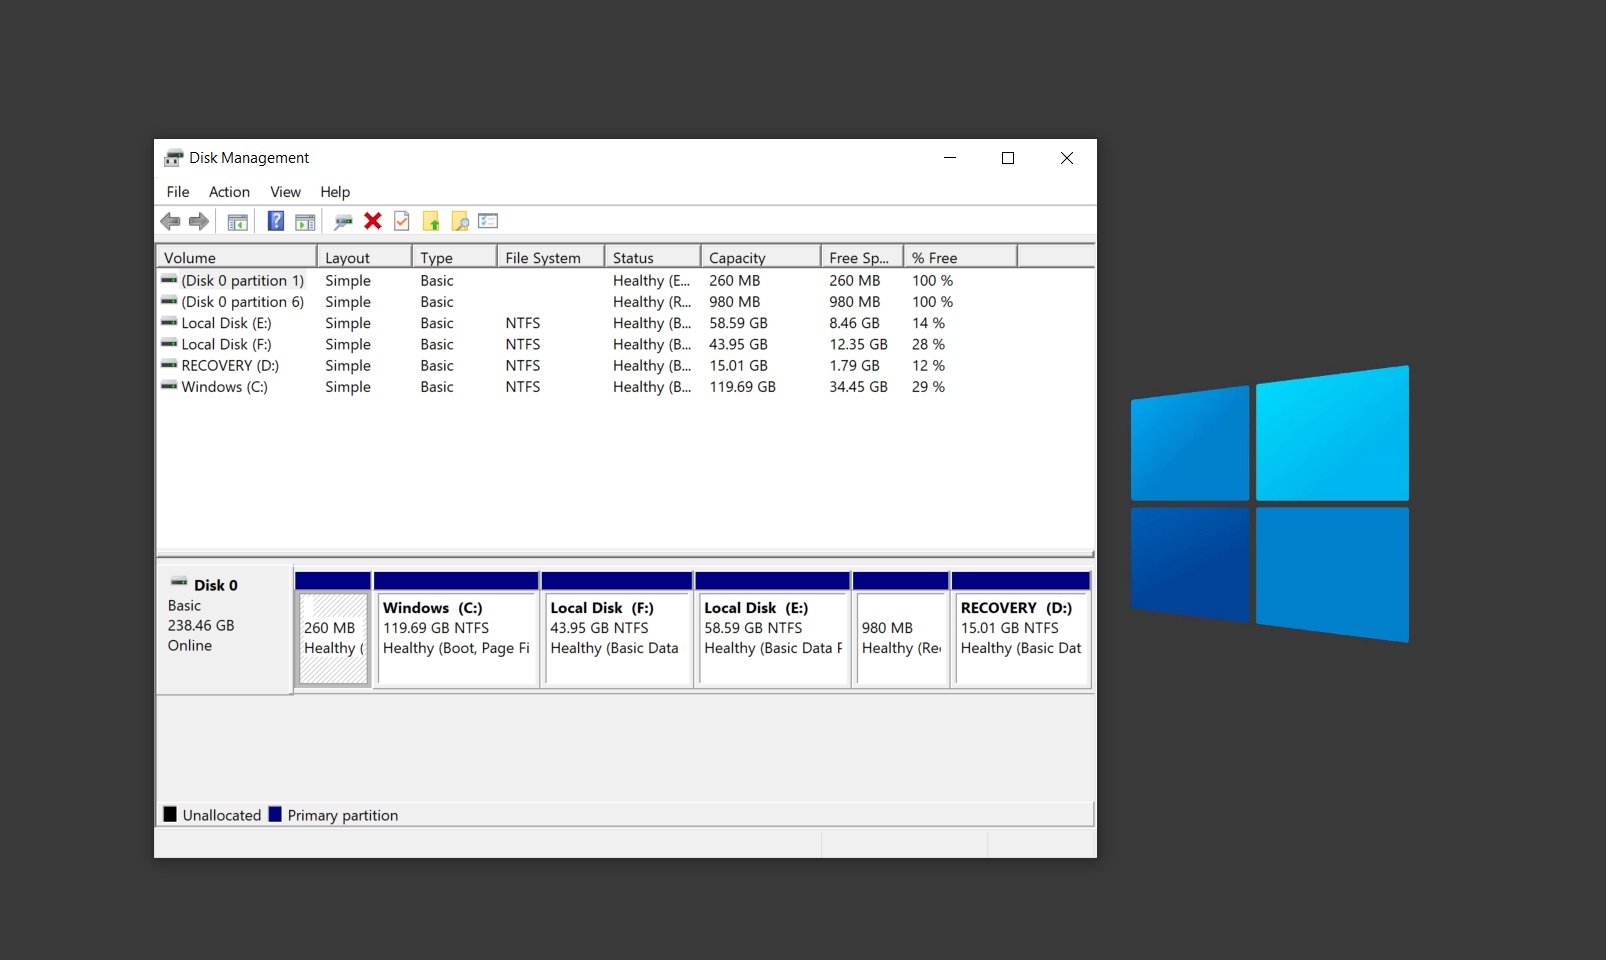
To do this, open the Disk Management tool and right-click on your USB drive, and select “Properties,” then open the “Hardware” tab, and open “Properties” again.
In the Properties tab, head to the “Policies” tab, and you’ll find two options — Quick removal and Better performance.

If you see that “Quick removal” is the default, you’re good to go and you can close the window. This ensures that caching is disabled and it’s safe to remove the drive.
But remember that this may degrade system performance. When you use the second policy, Windows can cache write operations to the external device and apps will work smoothly if they had already written the data.
With better performance (caching) enabled, it’s very likely that that data will be tied up with some background process on your PC. On that note, Microsoft recommends you to use the safely remove hardware option.
When it comes to smaller USB drives, you should always quick removal policy as long as you’ve let any transfers complete.
If you use external drives with a lot of data on it and performance is important for you, you may as well be safe and always eject it properly.
Thank you for viewing the article, if you find it interesting, you can support us by buying at the link:: https://officerambo.com/shop/
No comments:
Post a Comment