So, iPhone users have the option to convert HEIC files to JPG pictures (or other compatible image formats) or install third-party software to sort out this issue.
Follow the methods presented below to successfully convert HEIC format to JPG on PC without too much hassle.
How can I convert HEIC files to JPG on Windows 10?
1. Use the HEIF Image Extensions app for Windows
- Open the HEIF Image Extensions MS Store page.
- Click the Get button.
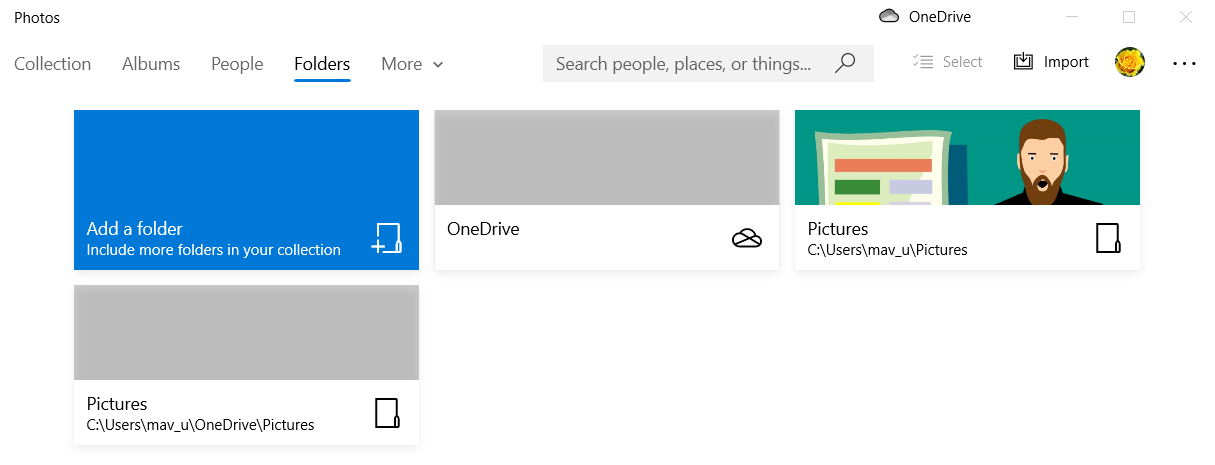
- Open the Photos app from your Start menu.
- Click Folders, and choose Add a folder.
If you haven’t transferred your HEIC photos to Windows, plug your iPhone into the PC with the USB cable for it. Then press the Import button and click From a USB device in Photos to save them on your desktop or laptop.
Next, simply select the folder that includes your iPhone’s photos, and click the Add this folder to Pictures option. Now you can view those HEIC images within Photos.
2. Use Adobe Photoshop CC (2019 and 2020)
Adobe Photoshop CC is one of the most advanced image-editing applications in the world. Although it’s not specifically a file-conversion software, you can convert HEIC files to JPG with Adobe Photoshop CC 2019 and 2020.
Adobe Photoshop CC incorporates a Mercury Graphics Engine that enables super quick image and video editing.
It includes state-of-the-art image-editing tools, which include a Content-Aware utility for retouching photos and an HDR Toning feature for adjusting picture tones.
Photoshop’s CC Image Processor is a great feature for converting HEIC files to JPG. The good thing about that utility is that it enables you to batch convert multiple HEIC images within a folder to JPG in an instant.
- Open Adobe Photoshop and click the File button.
- Select Scripts > Image Processor to open the window shown directly below.
- Press the Select Folder button for images to process.
- Select the folder that includes your HEIC images, and click OK.
- Click the Select Folder button and aim at a specific location.
- Choose a folder to save the converted JPEG images to, and press the OK button.
- Select the Save as JPEG option.
- Enter 12 in the Quality box.
- Press the Run button.

Adobe Photoshop
Create professional-looking digital watercolor paintings with this poweful software
3. Install the CopyTrans HEIC for Windows
Thank you for viewing the article, if you find it interesting, you can support us by buying at the link:: https://officerambo.com/shop/


No comments:
Post a Comment