- The projector duplicate feature is extremely useful in various workflows.
- If the option doesn't work on your device, the solutions shown below should help.
- Bookmark our Windows 10 Troubleshooting Hub for easy access whenever your need a quick fix.
- Our Laptop & PC section surely comes in handy if you're looking for specific tutorials for your device.

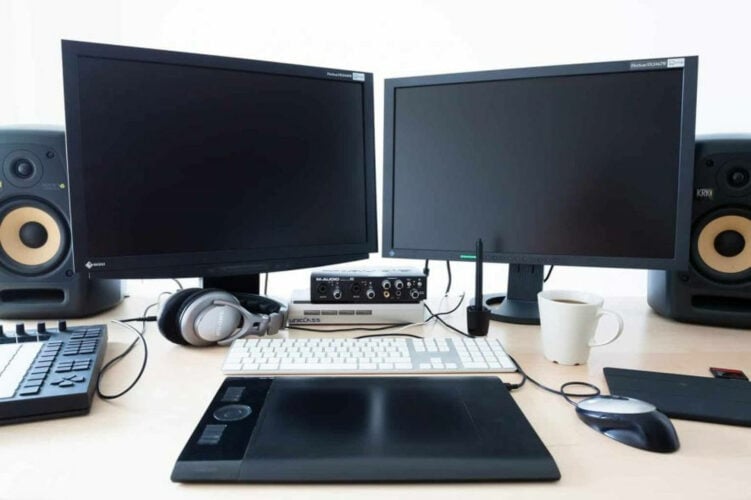
PCs can be used for presentations taking advantage of the projector duplicate feature. However, the option is faulty sometimes.
More specifically, you might notice that although extending the display is possible, duplicating it isn’t. Or that the duplicate monitors or the display are not working.
Sometimes, the HDMI connection might be the problem, because the built-in graphics interfere with your system.
That being said, please find below a list of solutions that should help you restore the projector duplicate feature on your device.
How do I fix the projector duplicate feature on Windows 10?
- Update your drivers
- Make sure that both monitors are using the same resolution
- Disable the built-in graphics
- Use a cable splitter
- Use Hardware and Device Troubleshooter
- Perform an SFC and DISM scan
- Install the latest updates
- Perform a System Restore
1. Update your drivers
First things first, outdated drivers can lead to several errors, this one included.
For instance, users mentioned that the DisplayLink port replicator driver was out of date, and that caused this issue to appear.
To fix this problem, you just need to ensure that all your drivers are up to date. Visit your laptop manufacturer’s website and download the latest drivers for your model.
In addition, users are also suggesting to update your graphics card driver, so be sure to do that as well.
If downloading drivers manually seems a bit tedious or if you don’t know how to do it properly, you can always use tools such as DriverFix.

By using this tool you’ll update all your drivers automatically with just a couple of clicks.
Besides, you’ll get recommendations of only the compatible drivers for your device. Needless to say that this is the safest and quickest solution to fulfill this job.

DriverFix
A faulty duplicated display will get back to normal in no time if you check and update all the drivers with this simple tool.
2. Make sure that both monitors are using the same resolution
If you’re unable to use the projector duplicate feature on your PC, perhaps the problem is your display resolution.
Several users suggest that in order to duplicate your screen both monitors need to use the same resolution.
Once both monitors are set to use the same resolution, the issue should be resolved and you’ll be able to duplicate your screen without problems.
3. Disable the built-in graphics
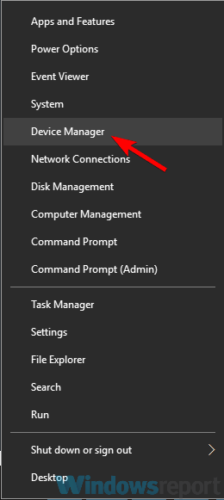
- Press Windows Key + X to open Win + X menu. Choose Device Manager from the list.

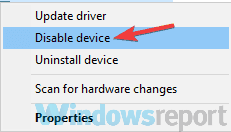
- Locate your built-in graphics card, right-click it, and choose Disable device from the menu.
- When the confirmation dialog appears, click Yes.
Check if the projector duplicate feature works properly now.
Many laptops and some PCs have built-in graphics available. According to users, Intel integrated graphics can sometimes cause problems with the projector duplicate feature on your PC and prevent you from using it.
4. Use cable splitter

A splitter cable has two ends. One end goes to your monitor while the other goes to your projector, TV or a second monitor.
After connecting both displays, the same signal will be sent to both of them simultaneously, so you’ll duplicate your display automatically.
Bear in mind that this is a crude workaround, but if you don’t manage to fix the problem using other solutions, you can always try this method out.
5. Use Hardware and Device Troubleshooter
- Press Windows Key + I to open the Settings app.
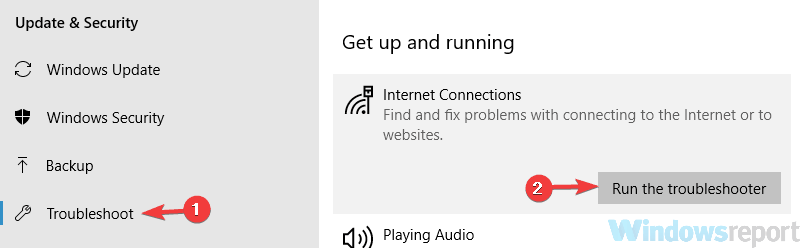
- Head over to the Update & Security section.
- Choose Troubleshoot from the menu on the left.
- In the right pane, select Hardware and Devices and click Run the troubleshooter.
Once the troubleshooting process is finished, check if the problem is still there.
Troubleshooterstops working? Check these useful steps to fix it quickly
6. Perform an SFC and DISM scan
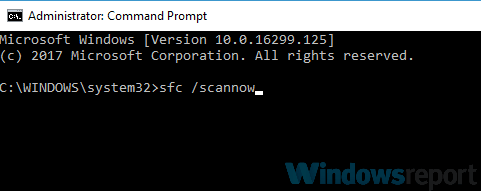
- Start Command Prompt with administrative privileges. (Use Windows Key + X shortcut and select Command Prompt (Admin) or PowerShell (Admin)).
- When Command Prompt opens, type sfc /scannow and press Enter to run it.
- SFC scan will now start. The process takes about 15-20 minutes, so don’t interrupt it.

Once the SFC scan is completed, check if the problem is still there.
If the sfc/scannow stops out of the blue, ses these easy solutions to fix the issue.
If the duplicate projector is still unusable, try running DISM scan. To do that, just follow these steps:
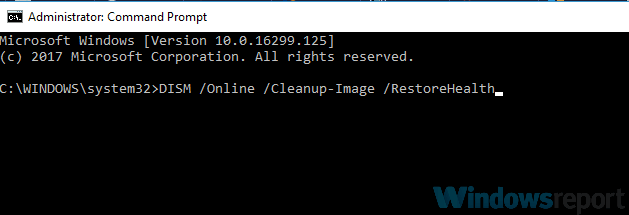
- Launch Command Prompt as an administrator.
- Enter DISM /Online /Cleanup-Image /RestoreHealth command and press Enter to run it.
- DISM scan will now start. The scan usually takes about 20 minutes or more, so don’t interrupt it.
Once the DISM scan is finished, check if the problem is still there. If you weren’t able to run SFC scan earlier, try to run it now and check if that solves your problem.
This solution is useful if file corruption is causing the error. After all, the OS installation oftentimes gets corrupted for various reasons.
7. Install the latest updates
- Open the Settings app.
- Navigate to the Update & Security section.
- In the right pane, click Check for updates button.
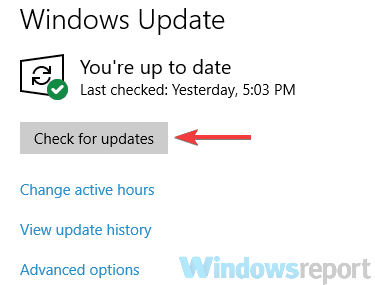
Windows will now check for available updates and download them automatically in the background.
After the updates are downloaded, they will be installed as soon as you restart your PC. Once your system is up to date, check if the problem is still there.
8. Perform a System Restore
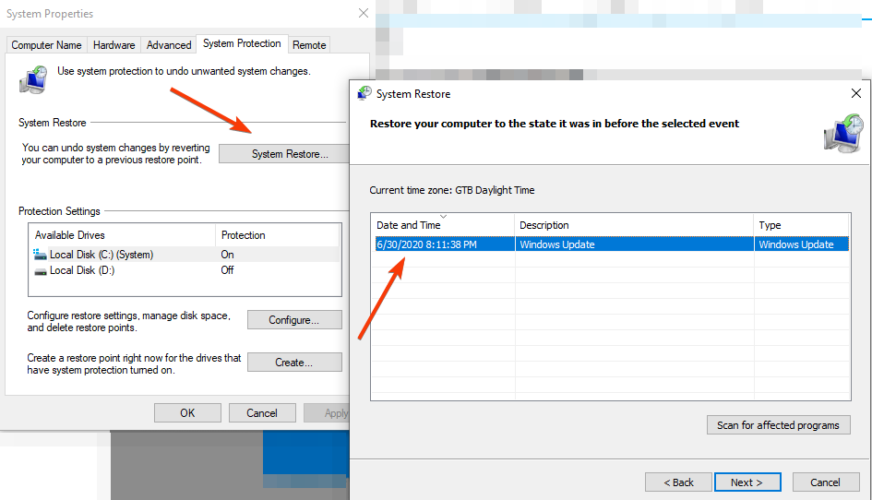
- Press Windows Key + S and type system restore. Choose Create a restore point from the list.
- System Properties window should now appear. Click the System Restore button.
- Once the System Restore window opens, click Next.
- Enable Show more restore points option, if available. Now select your restore point and click Next.
- Follow the instructions on the screen to complete the process.
Keep in mind that a System Restore will work only if this problem started appearing recently.
All in all, the projector duplicate is a useful feature, but sometimes issues with it can appear. However, we hope that you’ll solve the problem by using one of our solutions.
We’d like to hear which solution helped so feel free to use the comments sections below.
Editor’s Note: This post was originally published in December 2018 and was completely revamped and updated in September 2020 for freshness, accuracy, and comprehensiveness.
Was this page helpful?
Get the most from your tech with our daily tips
Thank you for viewing the article, if you find it interesting, you can support us by buying at the link:: https://officerambo.com/shop/
No comments:
Post a Comment