
Sensitivity labels in Microsoft 365 have been around for quite some time. Essentially they enable users to apply protection to emails and documents that they’re working on by assigning a label to that content.
The purpose of this ensures that only people authorized to view or consume that content do so. You can configure sensitivity labels to apply encryption and content marking to specific emails and documents, which you assign to users or groups with varying permissions levels using labeling policies.
Depending on the level of Microsoft 365 licensing in place, these labels can be either manually applied by the end-users themselves, or automatically based on built-in sensitive information types. You can read more about the licensing requirements for Microsoft Information protection here.
Upcoming Webinar: How to Prepare for Office 365 License Renewal – September 21 – 10:30 AM ET / 15:30 PM BST / 16:30 PM CEST. Hosted by Microsoft MVP Paul Robichaux.
The evolution of sensitivity labeling can be traced back to Information Rights Management within Office 365, then Azure Information Protection in the Azure portal, and finally, Unified labeling via the Microsoft 365 Security and Compliance Center.
Up until recently, however, it was only possible to apply sensitivity labels to emails or documents. Microsoft has now introduced the ability to use sensitivity labeling at a ‘container level’, which means that you can apply for labels’ protection at a higher level than the document or email. In Microsoft 365, when we refer to containers, this currently relates to the following three features or services.
- SharePoint Online Sites
- Microsoft Teams
- Microsoft 365 Groups
This blog series will show you how sensitivity labeling works at the container level and configure existing labels. We’ll also show how this relates to any existing labeling applied at the document level and some useful tips on the M365 audit logs’ auditing capabilities.
We will start in the M365 Compliance Center, enabling some existing labels for use with containers.
Microsoft 365 Compliance Center
Over the past couple of years, the Microsoft 365 Security and Compliance Center has been my go-to portal for information governance and protection. Whist this portal remains available, the evolution of so many features relating to both Security and Compliance has led Microsoft to provide specific outlets to administer these functions. Therefore, we now have the separate Security Center and Compliance Center.
To demonstrate Sensitivity labeling at the container level, I will be working from the Compliance Center by completing the following steps.
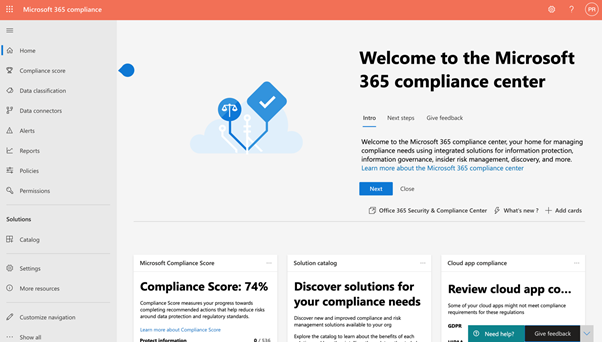
- Log on to the Compliance Center as a Global Administrator, Compliance Data Administrator, Compliance Administrator or a Security Administrator. This will take you to the portal as shown below.
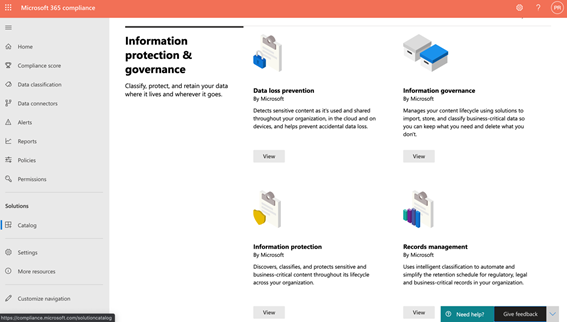
2. Next, click on Solutions > Catalog > Information protection > View.
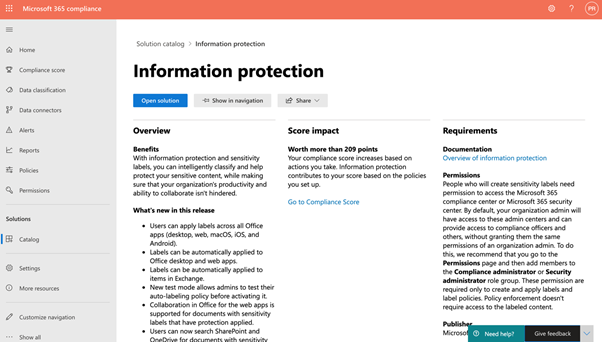
3. Now click on Open solution.
4. In the example below, we can see many of the labels and sub-labels already available in my tenant, currently providing encryption and content marking to emails and documents.
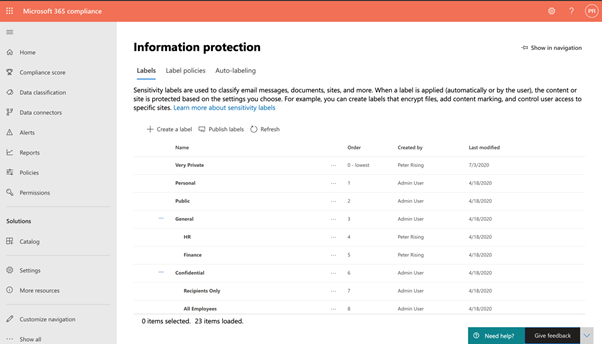
5. If we select the General / HR sub-label, we can note its existing settings as below.
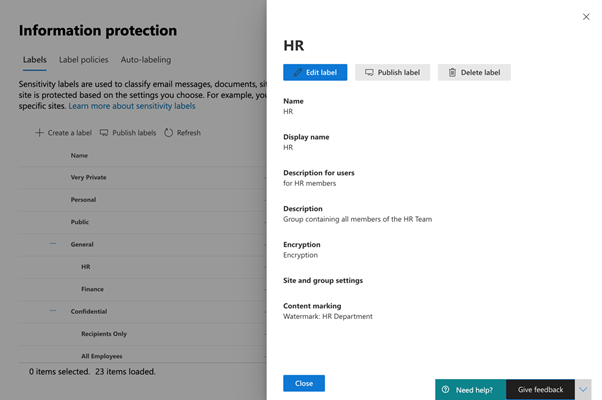
6. If you are already familiar with Sensitivity labels, you will note a newer section in this dialog called Site and group settings. Click on Edit label, and this will open the label wizard in the following image.
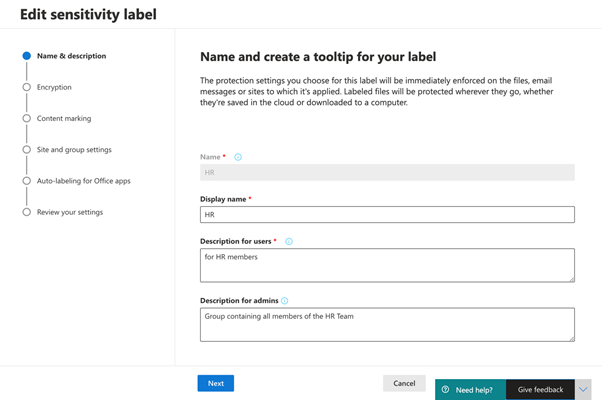
7. Keep clicking Next until you reach the Site and Group settings.
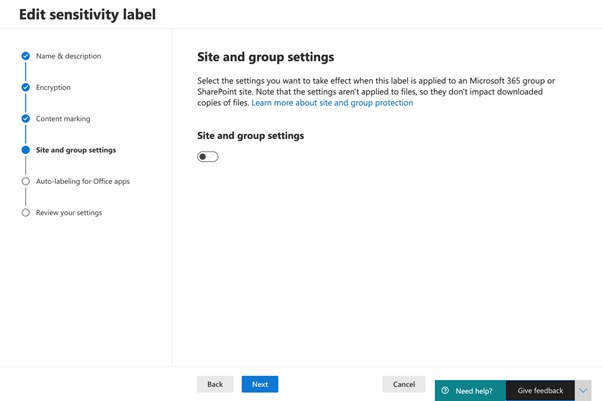
8. Move the slider to the on position, and this will present you with the options to configure the Site and Group settings.

9. You can choose some privacy options from the dropdown menu to access the Site or Group where this label will be applied. These options are shown in the following table.
| Public | This will allow anyone in the organization to access the Site or Group where this label is applied. |
| Private | This setting restricts access to only approved members in your organization |
| None | This setting will allow the user to decide who can access the Site when the label is applied. |
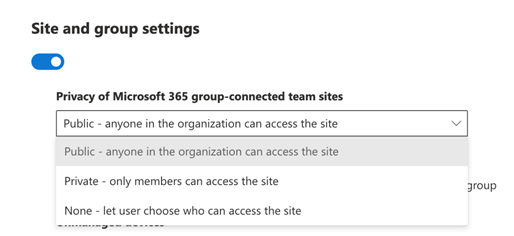
10. In this example, we will set this label to be applied privately, meaning that only members will access the Site.
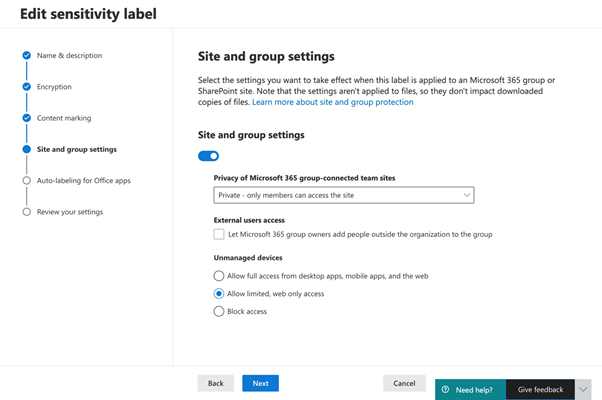
11. We can also choose whether we want Sites and Groups protected by this label to be accessed by people outside of the organization. In this example, we will leave this option unchecked.

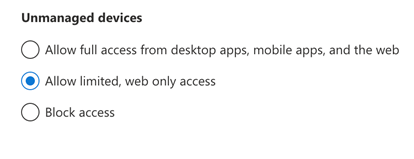
12. Finally, we have some controls to address which allow us to choose how any unmanaged devices when they attempt to access Sites or Groups protected by this label.
Note: To use this option, you will also need to configure the SharePoint feature, which uses Azure AD Conditional Access to block or limit access to SharePoint Online and OneDrive content from unmanaged devices. Further guidance on how you can configure this feature may be found here.
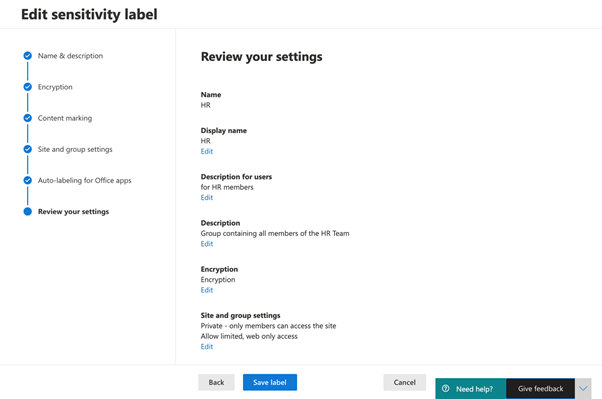
13. Now that you have configured the Site and group settings for your label, click through the wizard, and on the Review your settings page, click Save label.
So, that’s how you can set up an existing label to be Site and Group ready. Now, let’s take a look at how this works in the first of our three M365 containers, which are SharePoint sites.
Applying sensitivity labels to SharePoint sites
Now that we have a configured label for use with sites and groups, we can apply that label to an existing SharePoint site within our M365 tenant, or whilst creating a new site. In the following example, I will choose to create a new Team Site to demonstrate how this can be done.
We need to complete the following steps.
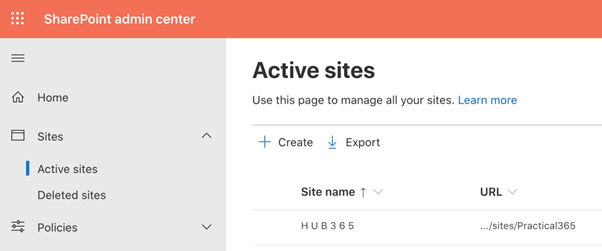
- Logon to the SharePoint Admin Center and navigate to Sites > Active Sites. Please refer to my previous blog series How to create Modern SharePoint Online Team Sites for instructions on how to connect to the SharePoint Admin Center. Click on Create.
2. Click on Team site.
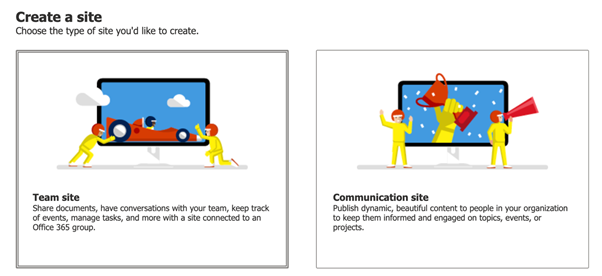
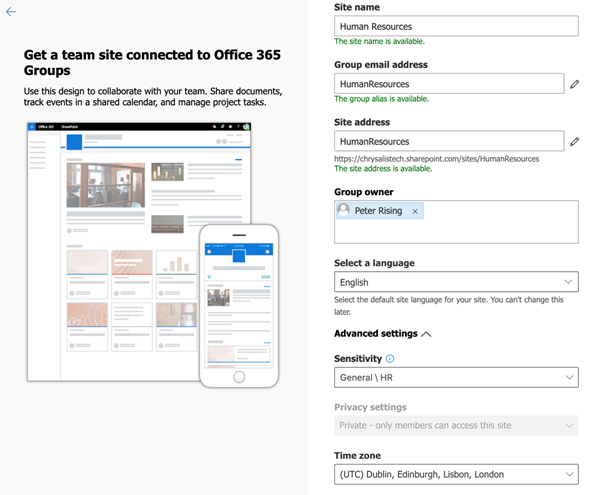
3. Enter the details to create your Team Site as shown below. In this example, we will create a site called Human Resources. Under the Sensitivity setting, we will select the General HR label, which we created earlier. Note that this selection results in the Privacy settings field is greyed out. This is because we set the chosen label as Private – only members can see this Site. Therefore, the privacy method is automatically applied.
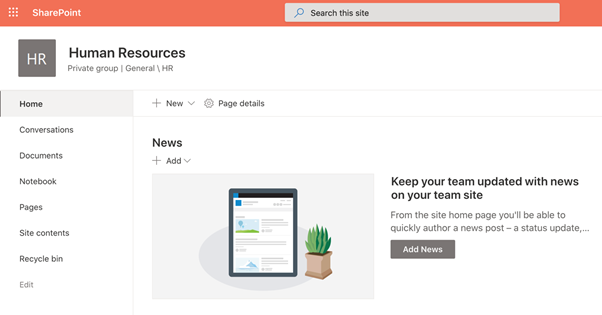
4. Complete through the wizard to finish creating the Team site, and then open the Team site by searching for it in the SharePoint Admin Center. As you can see below, we now have our new Team site ready, and it is appropriately labeled under the Site name as Private group | General HR.
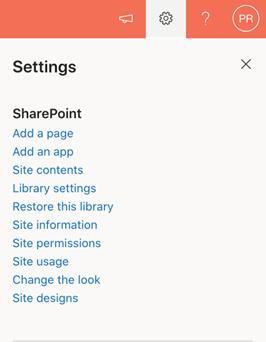
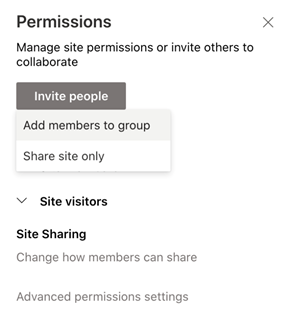
5. This label setting’s effect is that the Site is accessible only to members of the Site, and the Site cannot be shared externally as per the label settings. To demonstrate this, I will try and add an external email address as a member of the Site. I do this by clicking on the cogwheel and selecting Site permissions.
6. Next, I click on Invite people > Add members to Group.
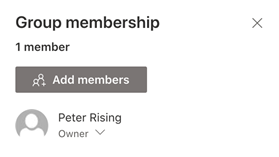
7. Now, I will click on Add members.
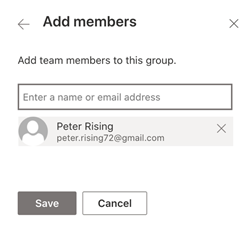
8. Here I will add my own Gmail email account, then click Save.
9. What happens is that you can’t add my Gmail account as a member due to the settings we defined in the General / HR label.
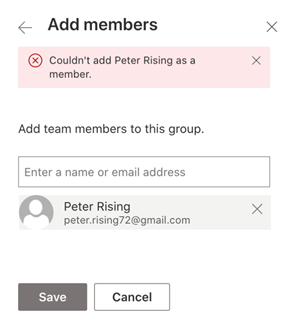
So, that’s how sensitivity labeling works with Site and Group settings within a SharePoint Online team site.
Summary
In this post, we’ve explained the principles of applying sensitivity labels at the container level within Microsoft 365. We showed you that there are currently three containers to which sensitivity labels can be applied. These are SharePoint Sites, Microsoft Teams, and M365 groups.
We demonstrated how you could modify an existing sensitivity label in the M365 Compliance Center and enable it for Site and group settings. We also explained you can configure this when setting up any new labels from scratch.
Finally, we showed how to apply the sensitivity label to the first of these three containers by setting up a new SharePoint Online Team Site.
In part two of this blog series, we will show you how to apply the sensitivity label to the two other container options: Microsoft Teams and M365 groups.
Upcoming Webinar: How to Prepare for Office 365 License Renewal – September 21 – 10:30 AM ET / 15:30 PM BST / 16:30 PM CEST. Hosted by Microsoft MVP Paul Robichaux.
If you can’t make it register anyway and you’ll be sent an on-demand recording after the session.

Peter Rising has over 25 years’ experience in IT. He has worked for several IT solutions providers and private organizations in a variety of technical roles focusing on Microsoft technologies. Since 2014, Peter has specialized in the Microsoft Office 365 platform, initially carrying out mail migrations from on-premises platforms and tenant-to-tenant migrations. Since joining Softcat PLC in 2016, Peter has shifted his focus to Microsoft 365 Security and Compliance, and Collaboration, and is now a senior consultant in Softcat’s public cloud technical practice. He holds a number of Microsoft certifications, including MCSE: Productivity; MCSA: Office 365; Microsoft 365 Certified: Enterprise Administrator Expert; and Microsoft 365: Security Administrator Associate.
Thank you for viewing the article, if you find it interesting, you can support us by buying at the link:: https://officerambo.com/shop/
No comments:
Post a Comment