- Networking is a crucial part of every computer, and not being able to access the Internet can be a big problem.
- Some Windows 10 users have reported problems with Netgear wireless adapter and today we’ll try to fix those problems.
- Check out our Windows 10 Hub for the latest news and updates from our trustworthy tech-experts.
- Take a look at our Fix section for complete guides on troubleshooting tech issues.

Users report that Netgear wireless adapter works fine when they start their computer, but after a while, the Internet gets cut off and the only way to enable it is to unplug and reconnect your adapter.
As you can see, this can be quite tedious, and worst of all, you’re left with an unreliable network connection. This can seriously disrupt your work, but luckily there are few things that you can try.
These solutions can be applied to the following Netgear models:
- Netgear Wnda3100v3
- Netgear a6210
- Netgear n300
- Netgear n600
How can I fix Netgear adapter problems in Windows 10?
1. Download and install the latest Netgear drivers

- Press Windows Key + X and go to Device Manager.
- Locate your Netgear adapter, right-click it and choose Update Driver.
- Select Browse my computer for driver software and Let me pick from a list of device drivers on my computer.
- Click on I have disk.
- Locate the driver and chose the .inf file.
- Click OK.
In addition, some users suggest choosing the driver from the list of device drivers from your computer as following:
- Press Windows Key + X and open Device Manager.
- Find your network adapter, right-click it and choose Update Driver.
- Click Browse my computer for driver software and Let me pick from a list of device drivers on my computer.
- Uncheck Show Compatible Hardware.
- From the left submenu choose Manufacturer: NETGEAR, Inc.
- From the right submenu select your Netgear model adapter.
- Click Next and if you get Update Driver Warning click Yes.
- Restart your computer.
Automatically update drivers (third-party tool suggested)
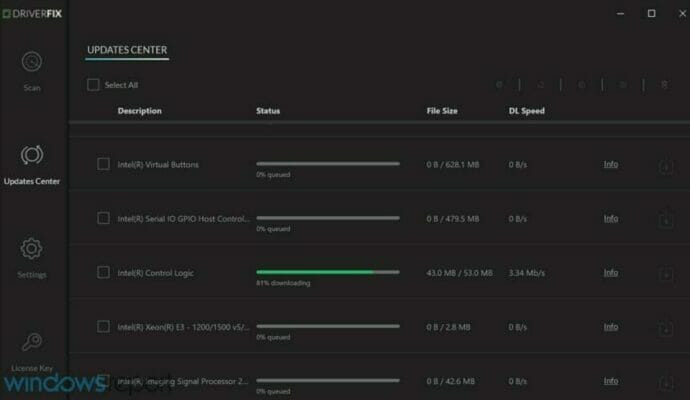
We strongly recommend the DriverFix tool to update your drivers in order to avoid the permanent damage to your computer by manually downloading the wrong driver versions.
This great program looks for new drivers for your hardware and downloads updates automatically.
It scans your system and lists all existing and possibly missing drivers. The tool also detects if there is already a new version for current records. If necessary, these can be updated directly via DriverFix.
To do this, load the corresponding file on your PC and copy the new version to your computer with one click. A wide range of hardware is supported, including drives, printers, scanners and Bluetooth devices.
Already installed drivers can also be stored in an archive and used, for example, when the system is restored.
However, we recommend you to download this driver updater tool (100% safe and tested by us) to do it automatically. Thus, you will prevent file loss and even permanent damage to your computer.

DriverFix
Get rid of your computer problems by automatically updating the drivers with DriverFix!
2. Change power settings
Disable USB selective suspend
- Right-click on the battery icon in the notification area and open Power Options.
- Click on Change plan settings.
- Go to Change advanced power settings.
- Choose USB settings and then USB selective suspend settings.
- Disable this option for both On battery and Plugged in.
- Save changes.
Disable USB root hub power preserving
- Right-click on Start and open Device Manager.
- Expand to Universal Serial Bus controllers.
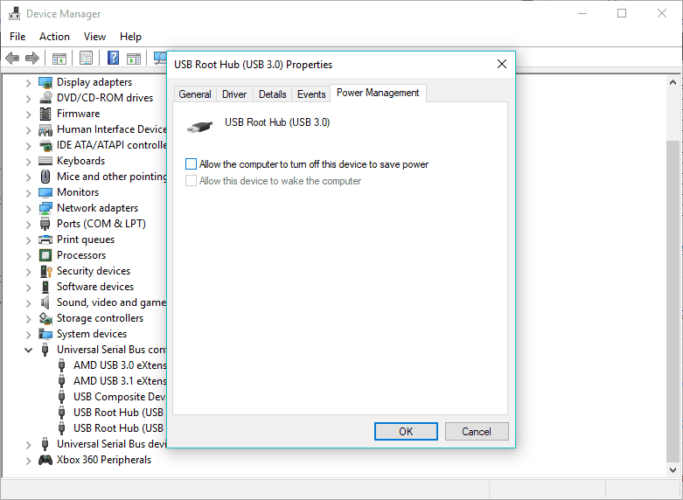
- Right-click on USB root hub and open Properties.
- Click on the Power managementtab.
- Uncheck the Allow the computer to turn off this device to save power box and confirm changes. You’ll need to do this for each USB hub.
- Restart your PC.
Disable WLAN adapter suspend
- Open Device Manager again.
- Expand Network adapters.
- Right-click on Netgear adapter and open Properties.
- Under the Power Management tab, uncheck the Allow the computer to turn off the device to save power box.
- Under the Advanced tab, locate Selective suspend and disable it.
- Confirm changes.
There are various power settings commonly hidden within the system that is vital for the performance of Netgear adapter.
Some of these are related to USB power reduction, while others are there to tend to wireless adapters. Both of these are valuable if you want to preserve the battery life.
The power-related settings are enabled by default and what we need to do is to disable them.
3. Change channel settings
- In the Windows Search bar, type Control, and open Control Panel.
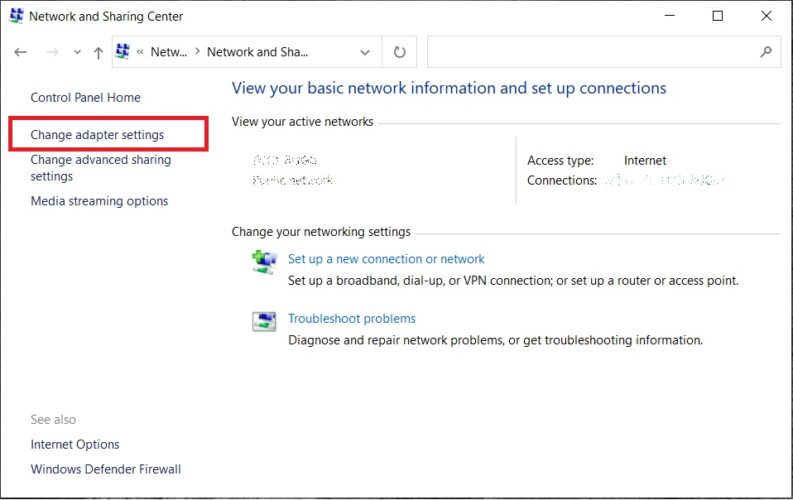
- Open Network and Internet and then Network and Sharing Center.
- Go to Change adapter settings.
- Right-click on your Netgear adapter and open Properties.
- Select Configure.
- Under the Advanced tab, scroll to WZC IBSS Number Channel.
- From the right drop-down menu, choose channels 1, 6, or 11 and confirm changes.
For the best overall Wi-Fi performance, we advise you to stick to 20 MHz of channel width and channels 1, 6, or 11. Those are rarely crowded by non-Wi-Fi devices that use similar frequencies.
4. Check the equipment

Make sure that everything is working as intended hardware-wise. Try multiple USB ports and try to use the Netgear adapter on a different computer.
If everything works as it’s supposed to, then the problem lies in your PC rather than in Netgear adapter. That should point you towards the other solutions we provided in this article.
Note: Regarding the USB ports, it’s important to know that USB 3.0 works properly on 5 GHz band. For 2.4 GHz, make sure to stick with USB 2.0.
5. Delete the network adapter drivers and scan for new hardware
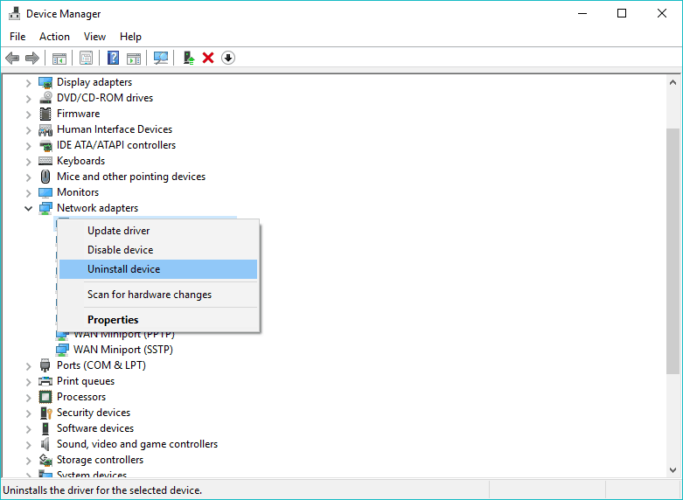
- Press Windows Key + X and go to Device Manager.
- Find the problematic adapter, right-click it, and choose Uninstall Driver.
- Click the Scan for new hardware icon.
- After the scan is completed the default drivers should be installed.
6. Disable the Block Internet Connection Sharing option

Antivirus software come with their own Firewall, and sometimes it can cause problems, so you might want to turn it off.
For example, Bitdefender has the Block Internet Connection Sharing option in its advanced settings, so in order to resolve this issue, it’s highly recommended that you turn it off.
That’s about it, if you have any comments, questions or suggestions, just let us know in the comments section below.
Editor’s Note: This post was originally published in January 2016 and has been since revamped and updated in September 2020 for freshness, accuracy, and comprehensiveness.
Thank you for viewing the article, if you find it interesting, you can support us by buying at the link:: https://officerambo.com/shop/
No comments:
Post a Comment