- Laptops have pretty much all peripherals built into them, including a microphone.
- If the internal microphone suddenly stops working, simply follow the guides below.
- Need more help with your laptop? Read the guides from our Laptops & PC section.
- For more generic fix guides, we recommend you look at our Troubleshooting section.
For those of you who are using HP laptops and you upgraded to Windows 10 you might have noticed that the internal microphone is not working anymore.
Well, we have managed to find a fix to the internal microphone issue for Windows 10 and you can follow the tutorial posted below for a detailed explanation on this subject and also follow the steps in the order they are described for a quicker fix.
Basically the apps you have installed in Windows 10 will not detect your internal microphone and changing the BIOS settings is not enough to get this issue fixed in Windows 10.
In this tutorial, we will also try to uninstall the IDT high definition drivers because these will also interfere with your internal microphone and the latest build of Windows 10.
- Windows 10 microphone not working Realtek – Realtek microphones are prone to cause problems after Windows update.
- Windows 10 headset mic not working – If your headset microphone is not working, check out this article.
- Windows 10 external microphone not working – If your external microphone is not working, check out this article.
- Realtek microphone driver – Realtek microphone driver is usually the cause of microphone issues in Windows.
What do I do if the Internal Microphone stopped working?
Table of contents:
- Update drivers
- Re-enable the microphone
- Set Microphone as Default Recording Device
- Check if microphone is muted
- Disable Audio Enhancements
- Use the Troubleshooter
- Change the audio format
- Reset Windows Audio service
1. Update drivers
- Go to Search, type devicemngr, and open Device Manager
- Expand Audio Inputs and Outputs
- Right-click your microphone, and go to Update Driver Software
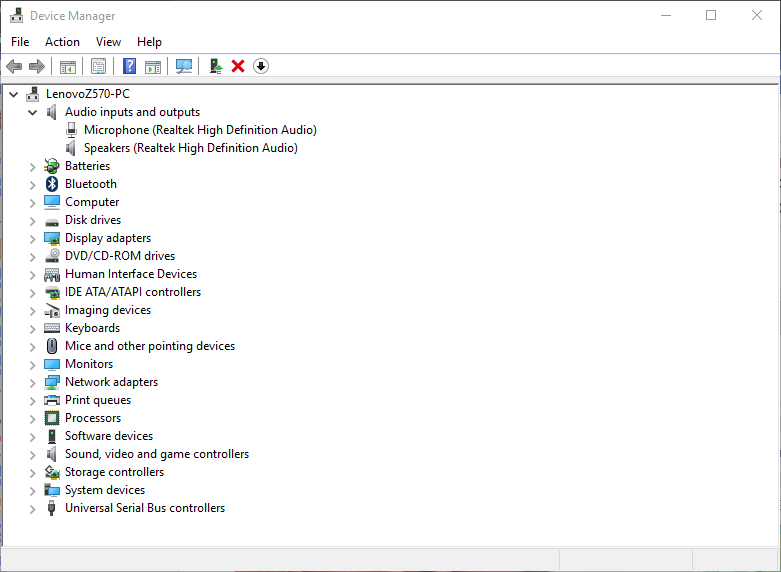
- Wait for the process to finish
- Restart your computer
Let’s start nice and slow, and with the most common solution. The very first thing you should do when dealing with any hardware-related issue is checking if your driver is up to date. And the internal microphone on your laptop is not an exception.

We also recommend DriverFix (100% safe and tested by us) to automatically download all the outdated drivers on your PC.
This tool will prevent file loss and help you to avoid permanent damage to your PC caused by downloading and installing the wrong driver versions.
Simply launching DriverFix will trigger a full system scan where it will detect all outdated, broken, or missing drivers.
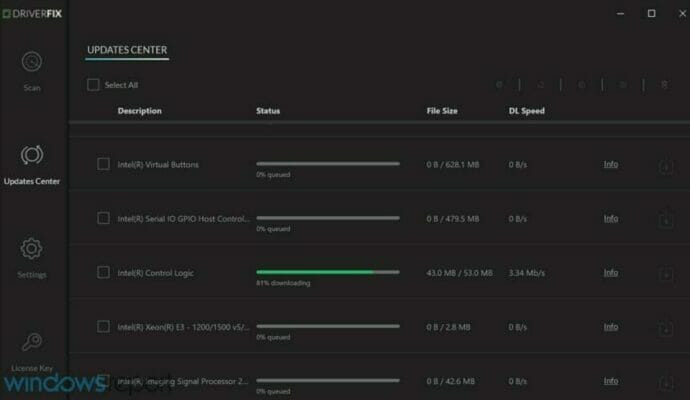
You will then get to choose which ones to fix and which ones to leave as it is, and the program will then proceed to download and fix them accordingly.

DriverFix
Update your audiodrivers immediately and avoid any future microphone issues with DriverFix!
If there’s a new update for your microphone driver, the Driver wizard will install it automatically. However, if there’s no new update, or the problem still persists even after installing the update, move on to another solution.
2. Re-enable the microphone
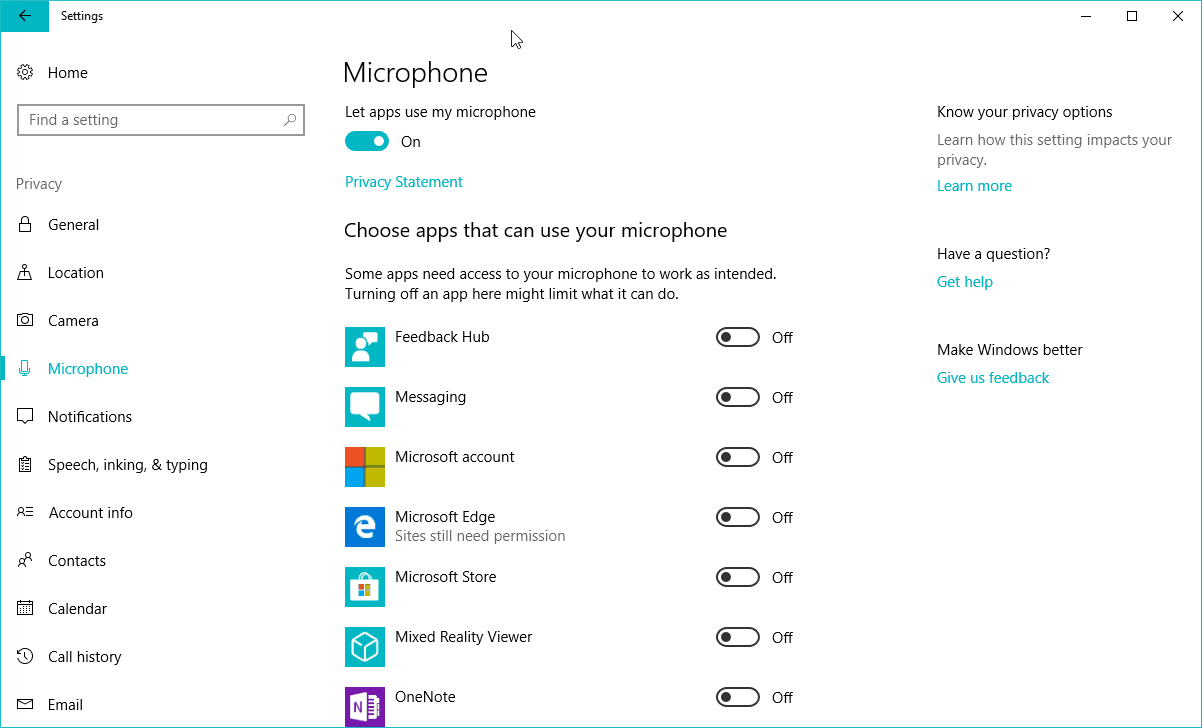
If you’ve tweaked some privacy settings in the past, there’s a chance you accidentally blocked the apps from using your microphone. In that case, all you need to do is to allow apps to use the microphone, and you should be good.
Here’s how to do that:
- Go to Settings > Privacy
- Head over to the Microphone section
- Now, just toggle Let apps use my microphone
3. Set Microphone as Default Recording Device
If you’ve used an external microphone, there’s a chance it’s still set as a default recording device. And if your built-in microphone isn’t set as a default recording device, you won’t be able to use it.
Here’s how to check if your built-in microphone is set as default recording device:
- Right-click the sound icon in the taskbar
- Go to Recording devices
- Right-click your built-in microphone, and go to Set as default device

- Restart your computer
4. Check if the microphone is muted
- Right-click the sound icon in the taskbar
- Go to Recording devices
- Right-click your microphone and go to Properties
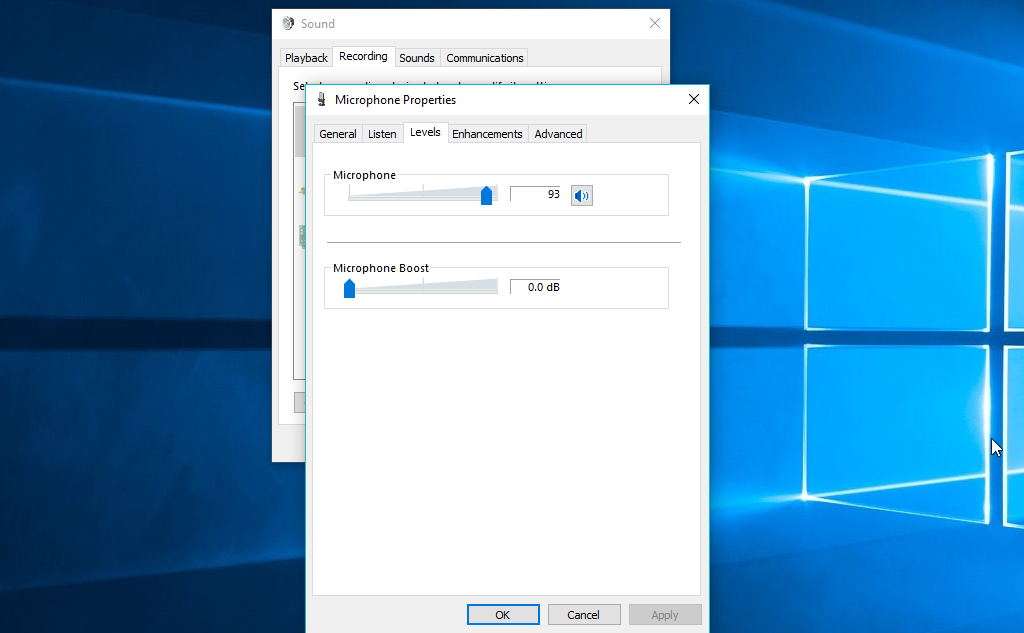
- Go to the Levels tab and increase the level of your microphone
Another silly thing that may cause you problems is your built-in microphone being actually muted.
5. Disable Audio Enhancements
- Right-click the sound icon in the taskbar
- Go to Recording devices
- Right-click your microphone and go to Properties
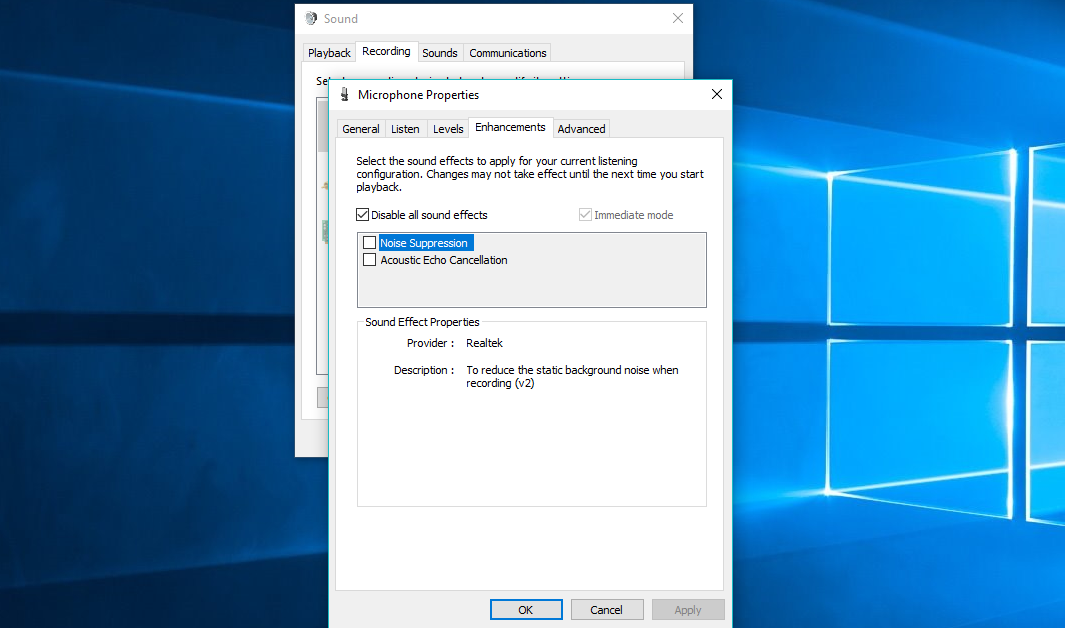
- Head over to the Enhancements tab
- Check Disable all sound effects
- Save changes
Although Audio Enhancements can actually improve the whole sound experience on your computer, this feature is also a known culprit of the various speaker or microphone-related issues. So, sometimes the best thing you can do is to simply disable Audio Enhancements.
6. Use the Troubleshooter
- Go to Settings
- Head over to Update & Security > Troubleshoot
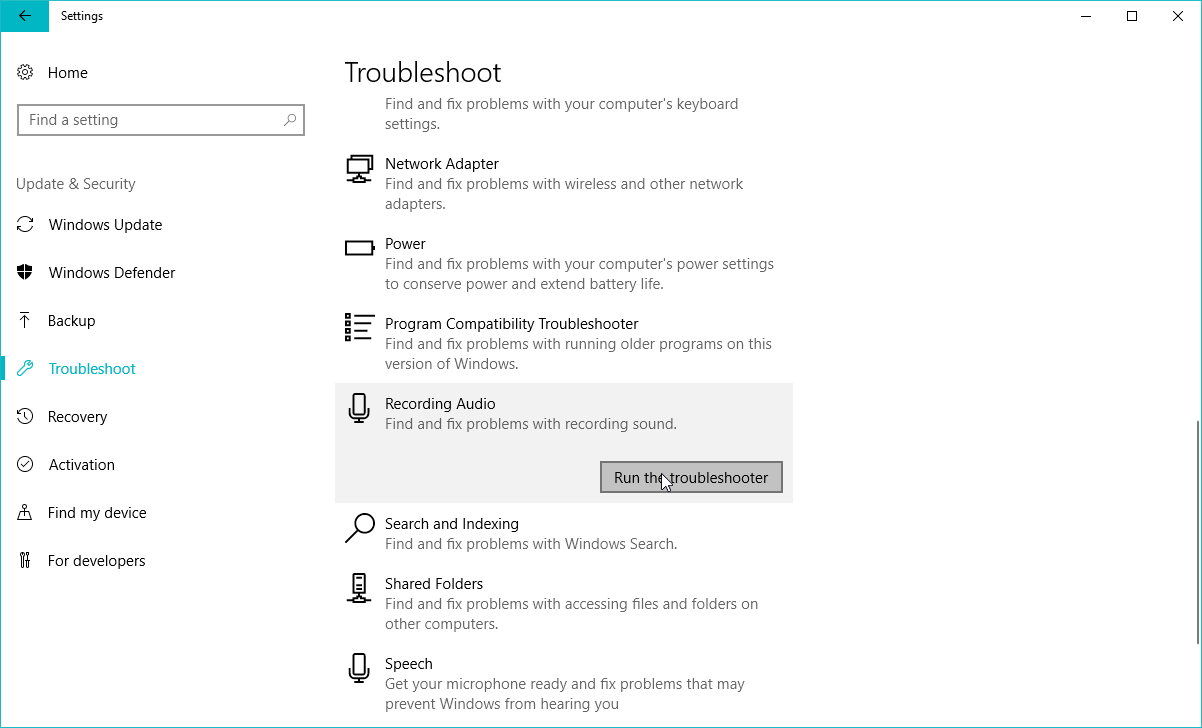
- Find Recording Audio, and click Run the troubleshooter
- Follow further on-screen instructions
- Restart your computer
If you’re using Windows 10 Creators Update or later, you have a new troubleshooting tool designed to deal with various system-related issues. Including sound and recording problems.
7. Change the audio format
- Right-click the sound icon in the taskbar
- Go to Recording devices
- Right-click your microphone and go to Properties
- Head over to the Advanced tab
- Under Default Format, choose another frequency form the dropdown menu

- Save changes
- Restart your computer
8. Reset Windows Audio service
- Go to Search, type services.msc, and open Services.
- Find the Windows Audio service.
- If this service is not enabled, right-click it, and select Start. If it’s enabled, right-click it and select Restart.
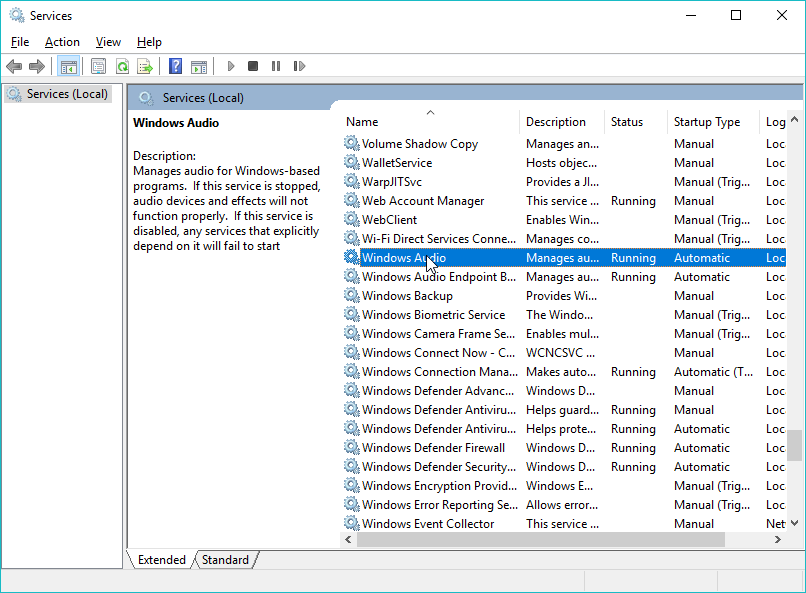
- Wait for the process to finish.
- Restart your computer.
The next thing we’re going to try is resetting the Windows Audio service. This service is responsible for sound on your computer, which includes recording it, as well.
So, if something’s wrong with this service, you’ll probably have problems using your microphone.
That’s it guys, I am sure that you did not encounter any issues while applying the steps above but if you did run into trouble along the way in this tutorial please don’t hesitate to write us in the comments section of the page situated a few rows below and we will help you further with this subject.
Editor’s Note: This post was originally published in December 2017 and has been since revamped and updated in August 2020 for freshness, accuracy, and comprehensiveness.
Was this page helpful?
Get the most from your tech with our daily tips
Thank you for viewing the article, if you find it interesting, you can support us by buying at the link:: https://officerambo.com/shop/
No comments:
Post a Comment