
In part one and two of this blog series, we showed you how to create an Intranet landing page in SharePoint Online based on a Communication site. Our site included our company logo, a site title, and we also uploaded a custom theme to the site using the Microsoft Theme generator tool and the SharePoint Online Management shell. We then started to build our landing page by adding sections and a Hero web part to promote highlight content in a prominent manner.
To complete the layout of our landing page, let’s add some other useful web parts.
Add a News feed web part
The Hero web part we added in part two of this series consists of a single column on our intranet landing page, and it can also be added as a full width column if you prefer. However, I always choose to add further web parts on to my landing pages in at least a two-column format.
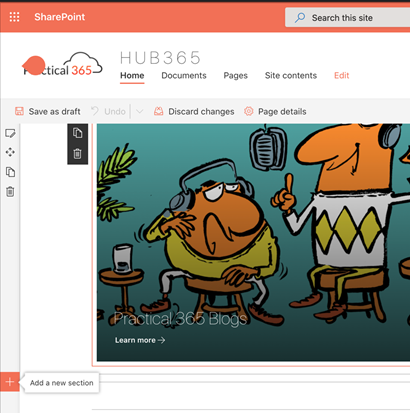
- In order to do this, we need to edit the home page again, and then click beneath the hero web part to Add a new section as shown in the image below.
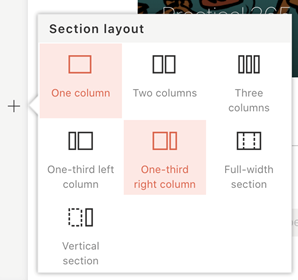
2. In this example, I chose the One-third right column option.
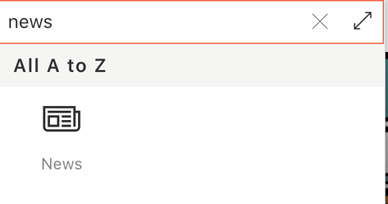
3. With my new section now in place, I clicked to add a new web part to the left-hand column. Then I searched for and selected the News web part as shown below.
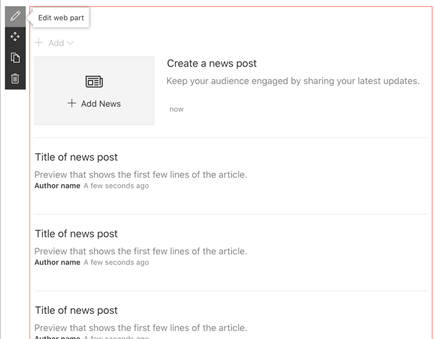
4. The News web part was added successfully, and I clicked to edit the web part.
5. When editing the News web part, you have the options to select a news source, and to configure the layout of the web part. In the example below, I chose the default news source of This site, and chose the Top story layout option.

6. After making my selections for the News web part, I clicked the Republish button to make my changes available to the intranet users.
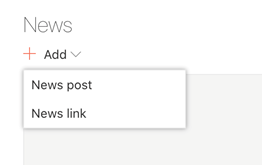
7. Now we can start adding some items to our News web part. Clicking on the Add News button gives you the option to add a News Post (containing internal site content), or a News Link to external web content. This is shown in the following image.
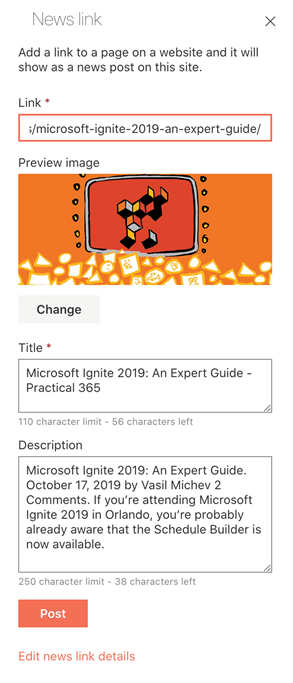
8. For this example, I chose to add a News link to an article on the Practical 365 website as shown in the following image.
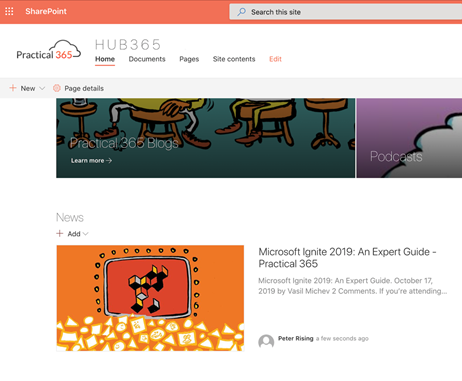
9. When clicking on Post, we can see our first News Item added beneath the Hero web part.
10. In the example below, I went ahead and added some further News Link items to illustrate how this web part looks when it starts to get populated.
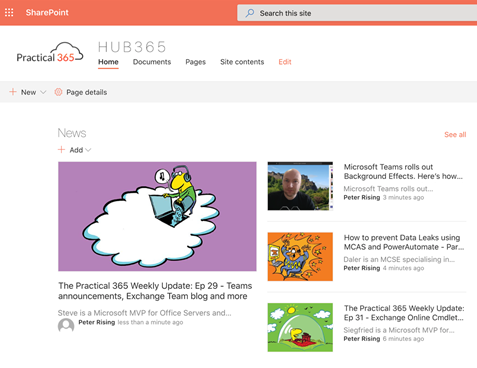
The example in the above image also shows what the home page would look like without the Hero web part at the top of the page. Some organizations prefer to have the News web part as the prominent web part on their intranet landing pages.
Next, let’s add some Quick Links.
Add a Quick Links web part
Quick links are self-explanatory and are essentially shortcuts to useful content. For this example, I once again edited the home page, and added a new web part. This time I added the web part to the thinner right-side column of the new section which we added in the previous step for the News web part.
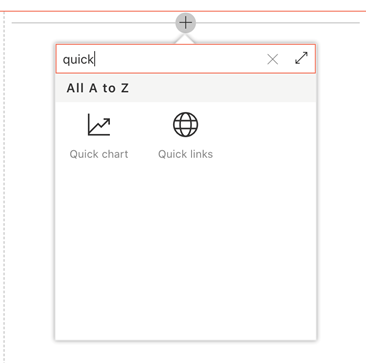
- I selected the Quick links web part as shown below.
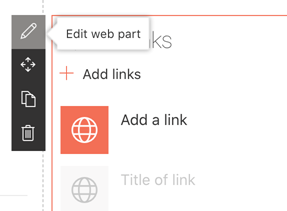
2. Next, I clicked on Edit web part.
3. I chose the Button option with the Fill color appearance setting as shown below.
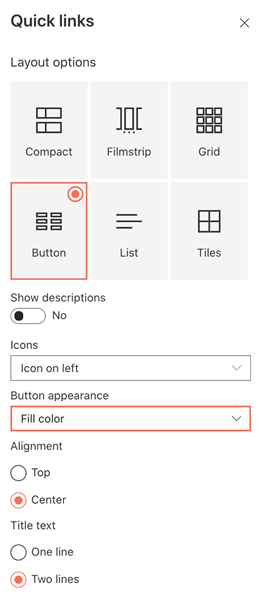
4. The above settings had the effect of showing the links in this web part in a very visual way which utilizes the theming color scheme we introduced earlier on in part one of this blog series. This is shown in the following image.
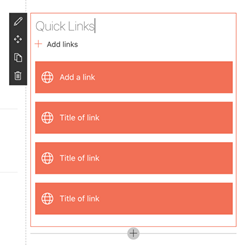
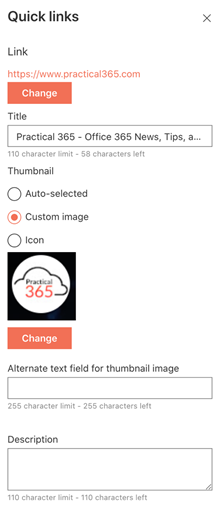
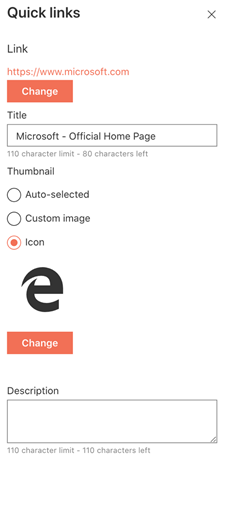
5. Next, I proceeded to add some links. In the examples below I added links to external content and visualised these with different methods – one using a custom image, and the other using one of the many built-in icons which are available.
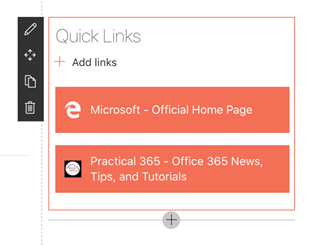
6. Once added, the links were displayed within the web part as shown below.
7. After completing our Quick Links section and republishing the page once again I added some finishing touches to the landing page by adding a Weather widget beneath the Quick Links, and a banner beneath the News feed.
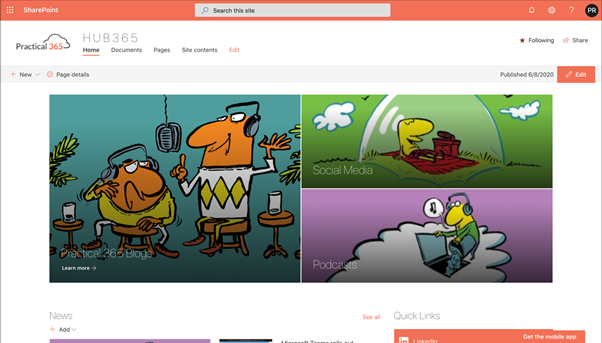
Here is how the final page looks with the News web part as the prominent feature.

And this is how it looks with the Hero web part left in place.
With the Hero web part included on the page, you do get a longer page with more of a scrolling effect which some people don’t care for, but personally I like both options for presenting the page that we have covered in this post.
Summary
In this post we have taken you through the steps to add some additional web parts to your newly created Intranet landing page in SharePoint Online. The web parts added included News, Quick Links, Weather, and Images. Adding these web parts in sections and column layouts on your page enables you to produce a modern and professional intranet experience for your Microsoft 365 users.

Peter Rising has over 25 years’ experience in IT. He has worked for several IT solutions providers and private organizations in a variety of technical roles focusing on Microsoft technologies. Since 2014, Peter has specialized in the Microsoft Office 365 platform, initially carrying out mail migrations from on-premises platforms and tenant-to-tenant migrations. Since joining Softcat PLC in 2016, Peter has shifted his focus to Microsoft 365 Security and Compliance, and Collaboration, and is now a senior consultant in Softcat’s public cloud technical practice. He holds a number of Microsoft certifications, including MCSE: Productivity; MCSA: Office 365; Microsoft 365 Certified: Enterprise Administrator Expert; and Microsoft 365: Security Administrator Associate.
Thank you for viewing the article, if you find it interesting, you can support us by buying at the link:: https://officerambo.com/shop/
No comments:
Post a Comment