- If your Razer Synapse won’t change the lighting then you won't be able to use the peripherals as intended, but this guide will help.
- To start resolving this issue, check your ports, and also uninstall and then reinstall the Razer Synapse software.
- To explore more useful information on this topic, don't hesitate to visit our extensive Razer Hub.
- For more in-depth guides that are easy to follow, check out our comprehensive Razer Synapse section.
Razer Synapse is a software that lets you assign shortcuts to complex tasks (macros) and change lighting profiles. The software/hardware tandem is coveted by veteran gamers because of the functionality and aesthetic.
However, it seems that the Razer Synapse sometimes becomes unresponsive to changes in lighting.
Fret not, for we have compiled our favorite picks on how to avoid this problem. So rest assured and follow these instructions to change the lighting with Razer Synapse.
How can I fix the Razer Synapse lighting profile issue?
1. Check your port

In some cases, the reason razer synapse won’t change lighting is because of a faulty USB port. If this is the case, detach your device from its port and plug it into another one.
It also makes no difference if you plug your device into a USB 2.0 port instead of a USB 3.0 port or vice versa.
If changing the ports makes no difference, try plugging your Razer hardware into another port on another PC.
If the lighting profile changes, the issue lies within the device itself. Try getting in touch with Razer tech support to solve this issue.
2. Uninstall and then reinstall Razer Synapse
- Detach all Razer devices from your PC. If you are using a desktop, replace Razer devices with a standard keyboard/mouse.
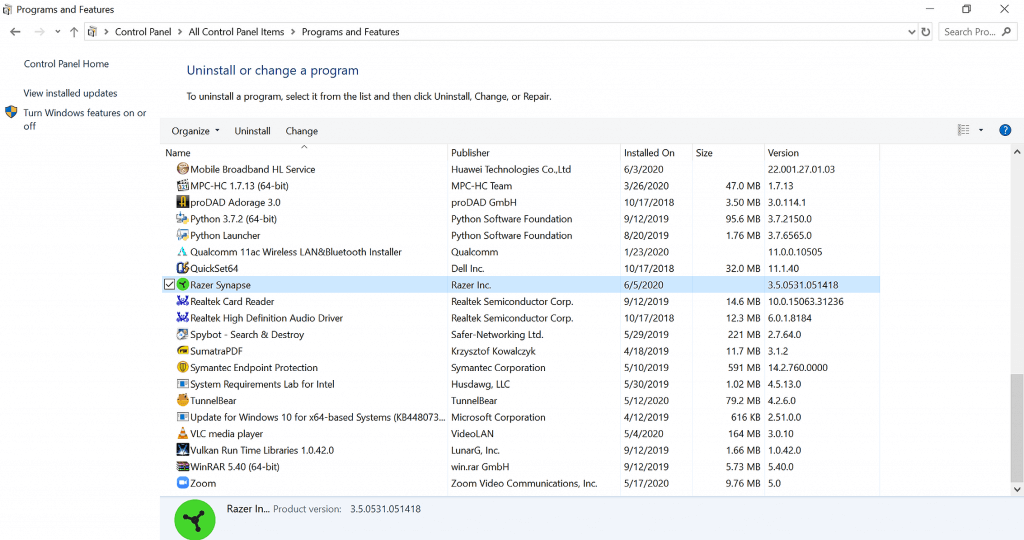
- Uninstall Razer Synapse by navigating to Programs and Features in Control Panel and then click on Uninstall a program. Find Razer Synapse in the list, and uninstall.
- Your PC may prompt you to restart. Restart after the next step. Navigate to the location of all Razer Synapse files and delete (usually C:/ ProgramFiles(x86)/Razer).
- Restart your device.
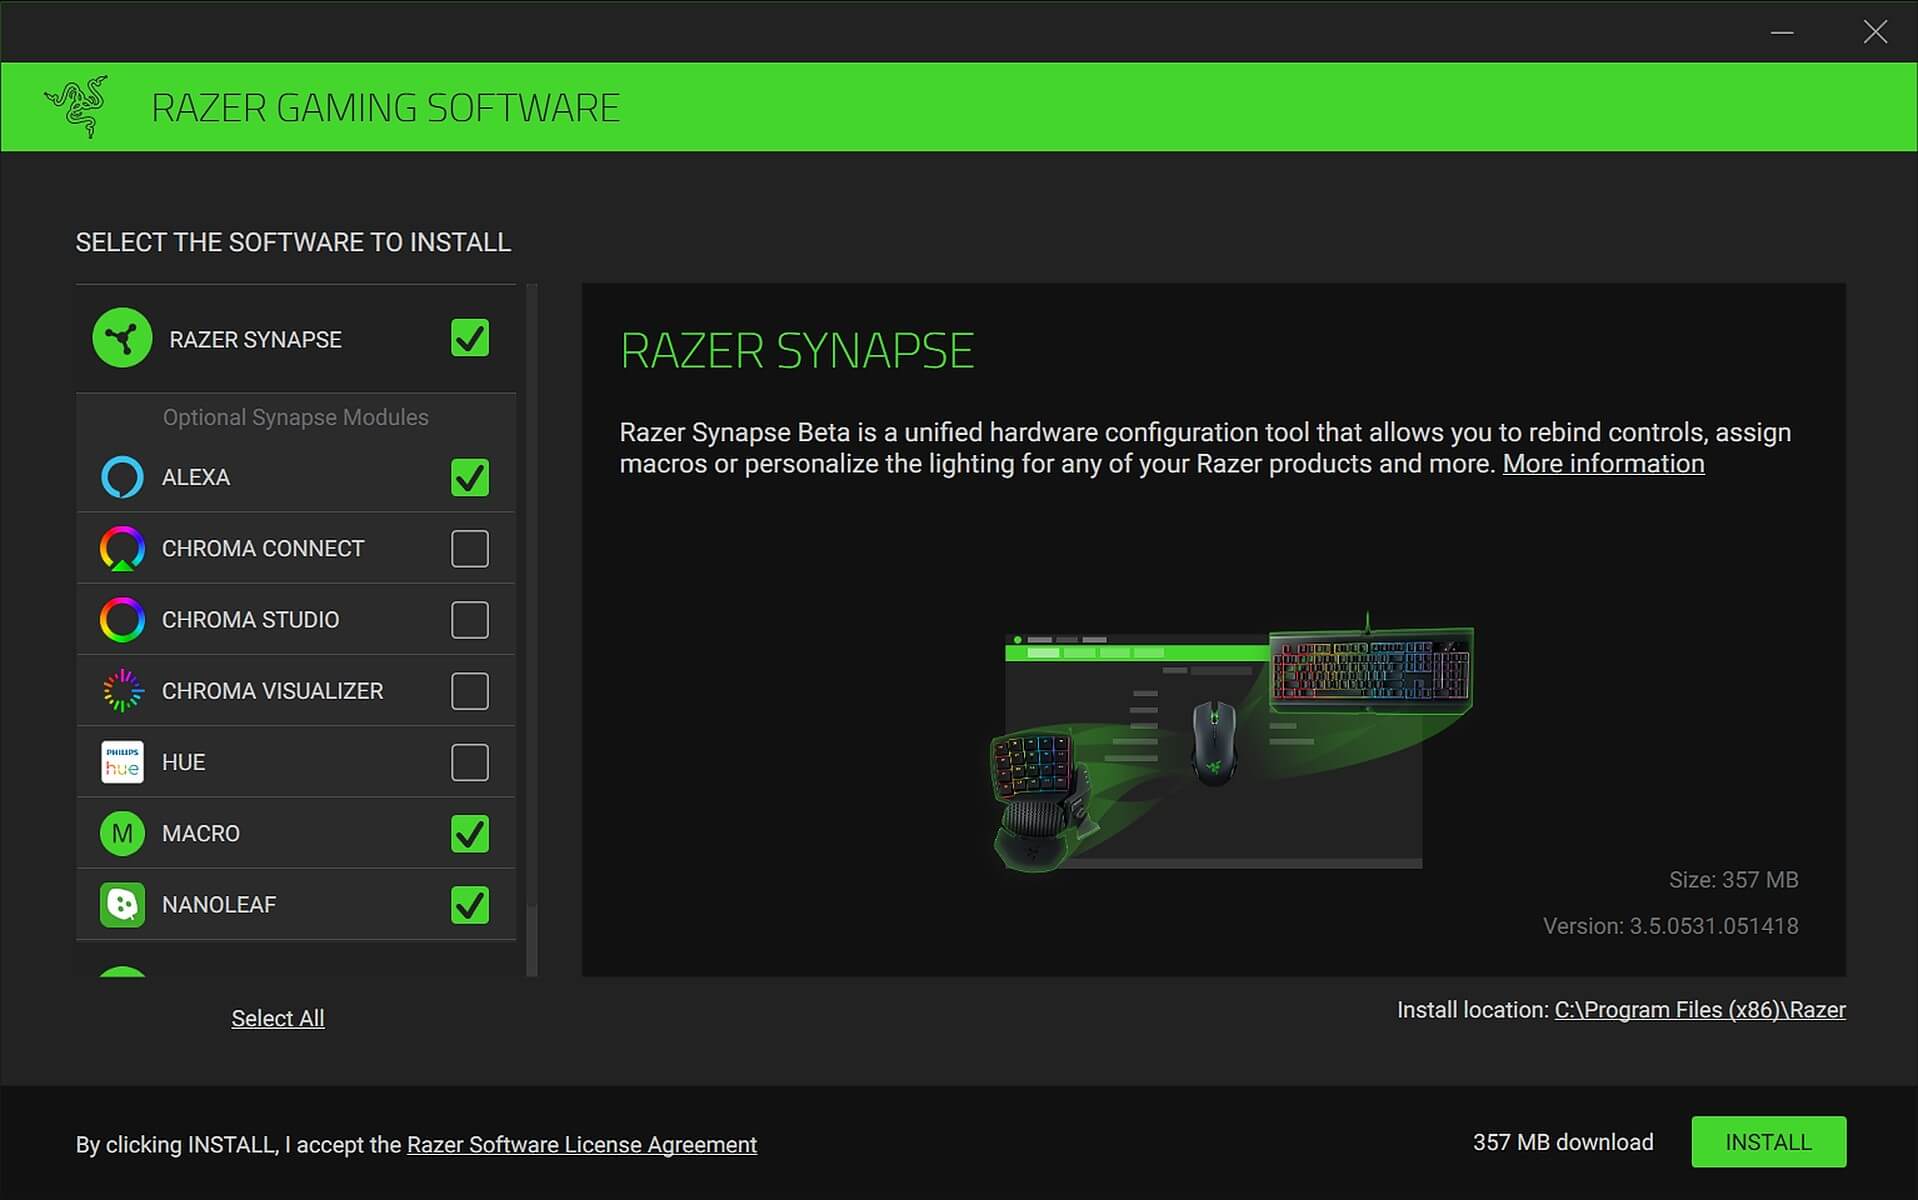
- Download the Razer Synapse Software once more.
- Click the Install button.
- After finishing the installation, plug in the Razer devices and check the lighting response.
Is your Windows 10 Control Panel not responding? Follow the steps in this guide
3. Upgrade or reinstall drivers for Razer Synapse
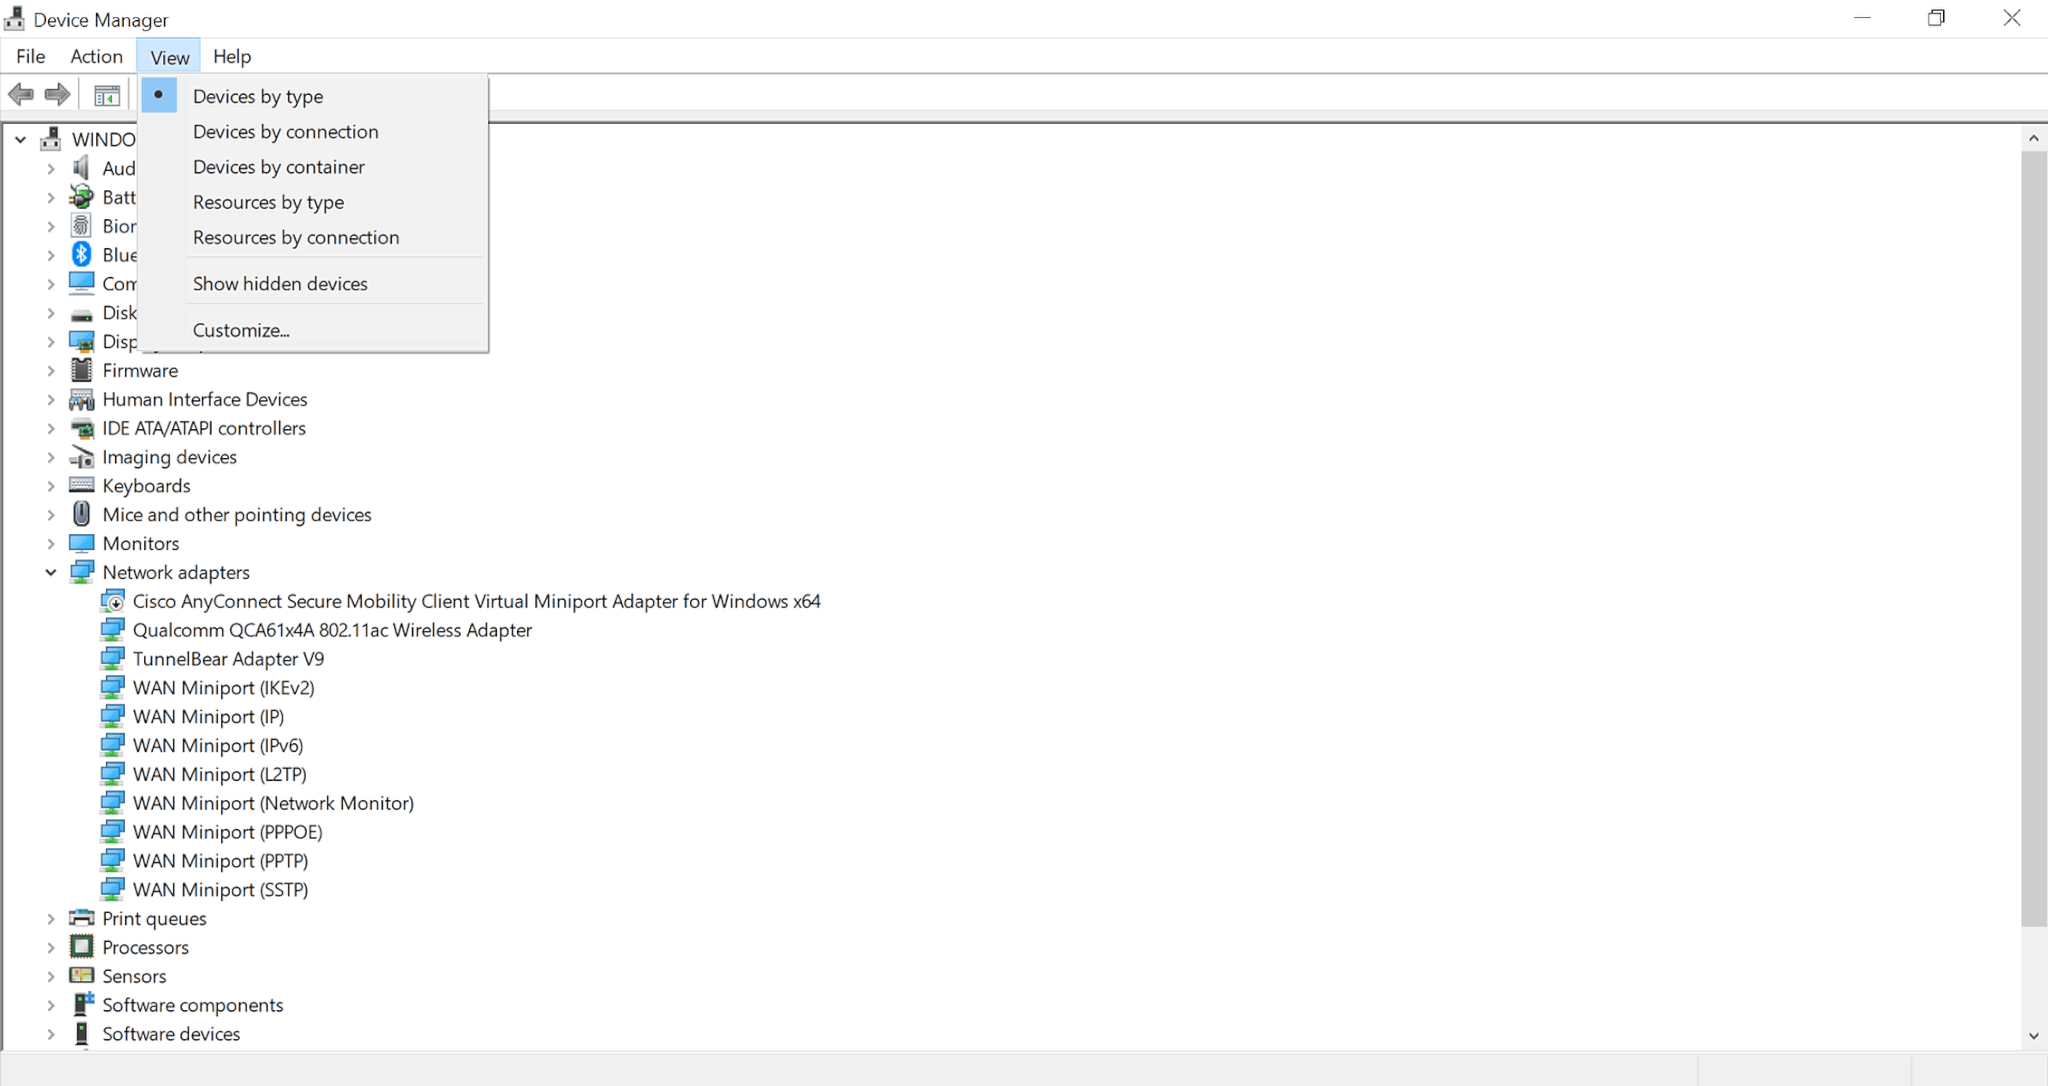
- Navigate to Control Panel and locate the Device Manager.
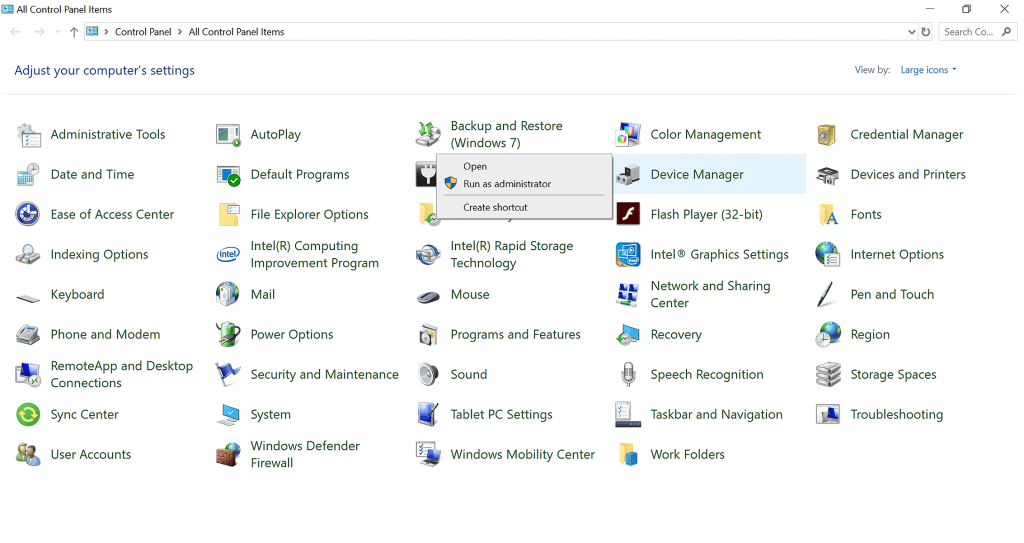
- Open the Device Manager and navigate to the view section of the toolbar. Then click on Show hidden devices
- After that, locate your unresponsive Razer hardware and left-click. You will see an option to update your driver.
- Upon clicking, you will be given the option of an automatic or manual search for the drivers. Click on the first option.
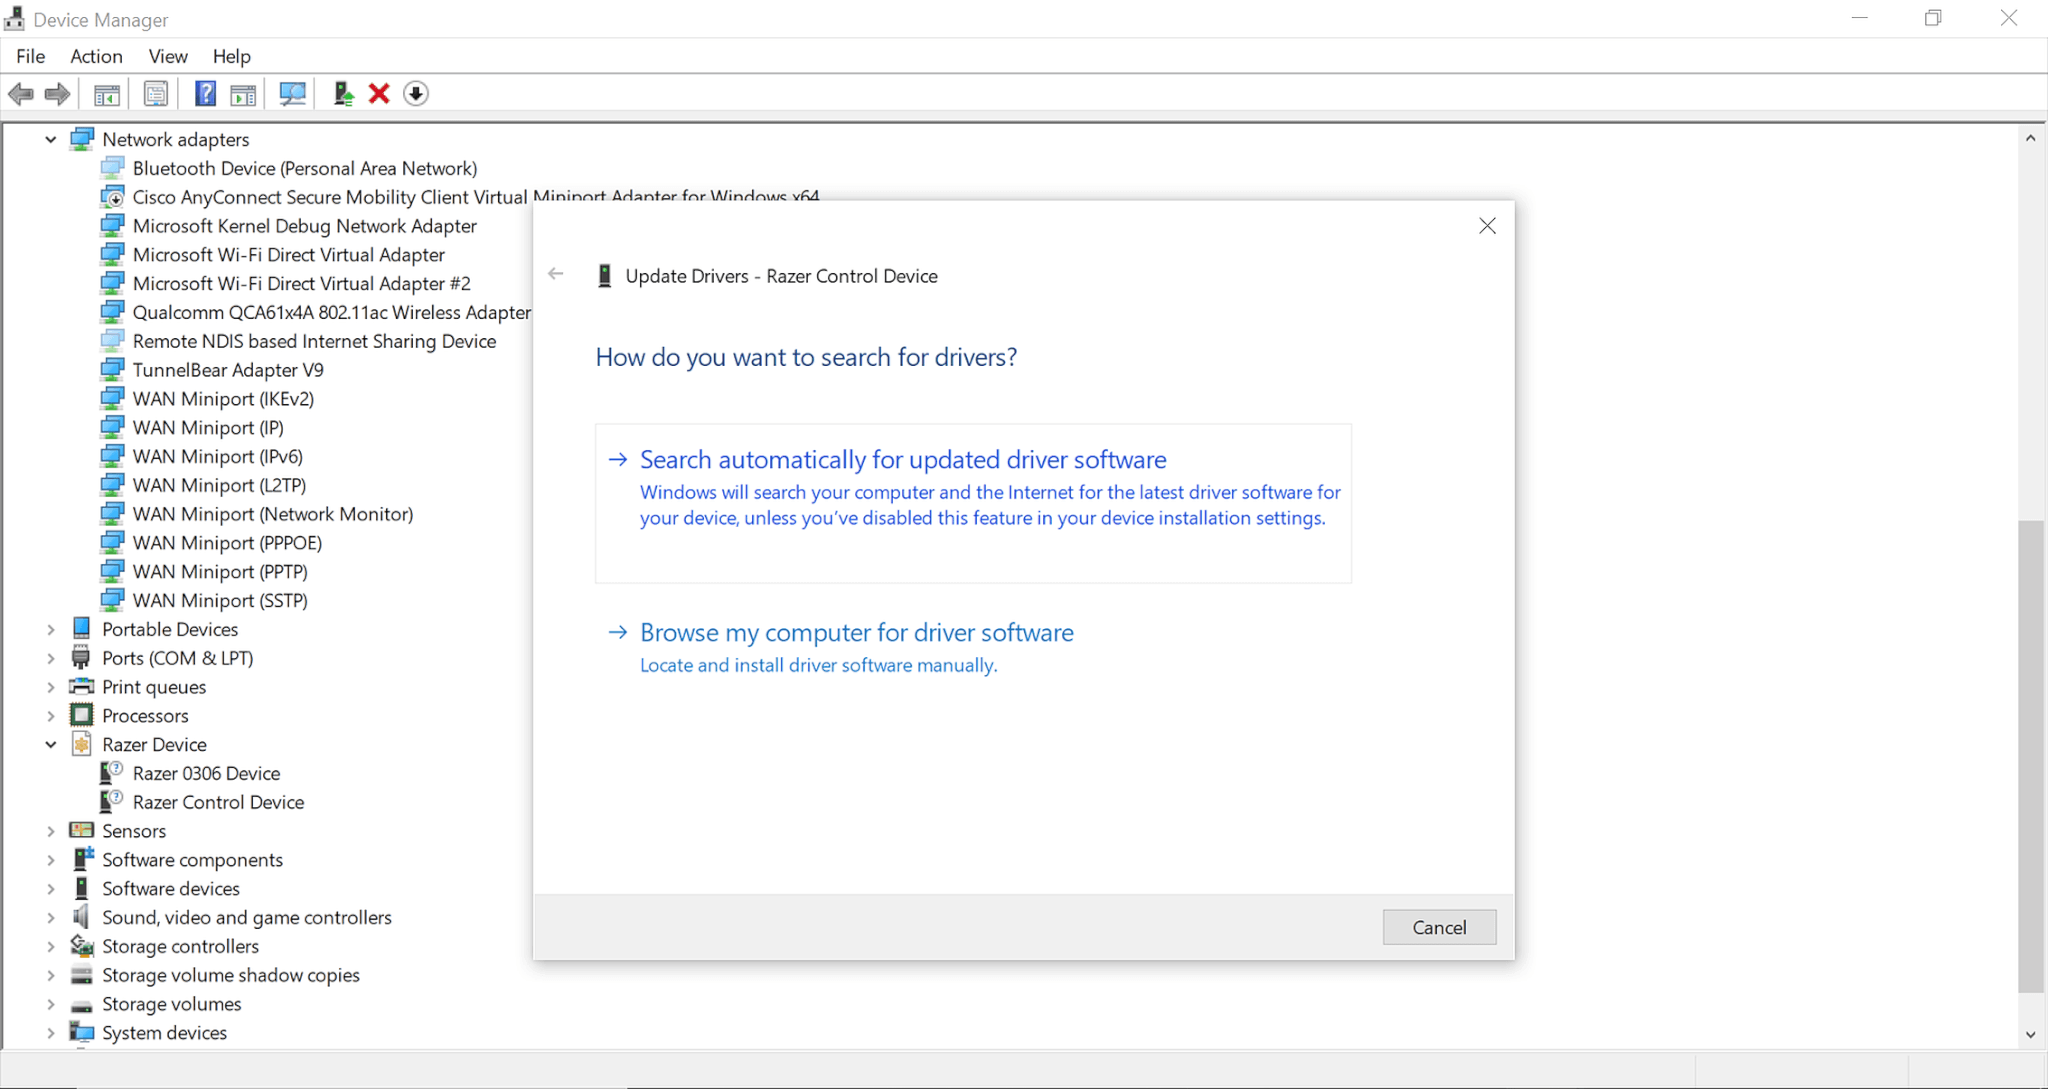
- In case the problem isn’t fixed, download drivers directly from the Razer website and then chose the second option. Navigate to the driver download folder and open it.
In this guide, we explored some of the best solutions for fixing the Razer Synapse not changing lighting issues.
If you found this guide helpful, don’t hesitate to contact us by leaving a comment in the section found below this article.
FAQ: More on Razer Synapse
Razer synapse is a gaming software designed to enable the execution of complex commands by triggering execution upon user-defined interaction with hardware. It is mostly used in gaming to allow for the use and storage of macros and can also change lighting profiles via macros.
- Why won’t Razer Synapse change lighting?
There is a multitude of reasons for this including, but not limited to: malfunctioning hardware, faulty USB port, botched installation, and defunct drivers.
- How do I update Razer Synapse drivers?
To update audio drivers, right-click on the Control Panel, then click Device Manager, and choose Human Interface Devices. Make sure you check that the hidden devices are shown by clicking on the toolbar on view. Under the Driver tab, just click Update Driver Software.
Was this page helpful?
Get the most from your tech with our daily tips
and
If you are looking for a cheap and genuine microsoft product key, 1-for-1 warranty from us for 1 year.
It will be available at the link: https://officerambo.com/shop/
Very pleased to serve you
Thank you :))
No comments:
Post a Comment