- Moving your OS from a new SDD can improve the booting time and overall performance of the system.
- In this article, we're showing you how to move an already installed system to an SSD, without performing a clean install.
- While you're waiting for the transfer to complete, check out our full library of Windows 10 Guides. For sure you'll find something useful!
- For even more guides, see our Laptop&PC Troubleshooting Hub.
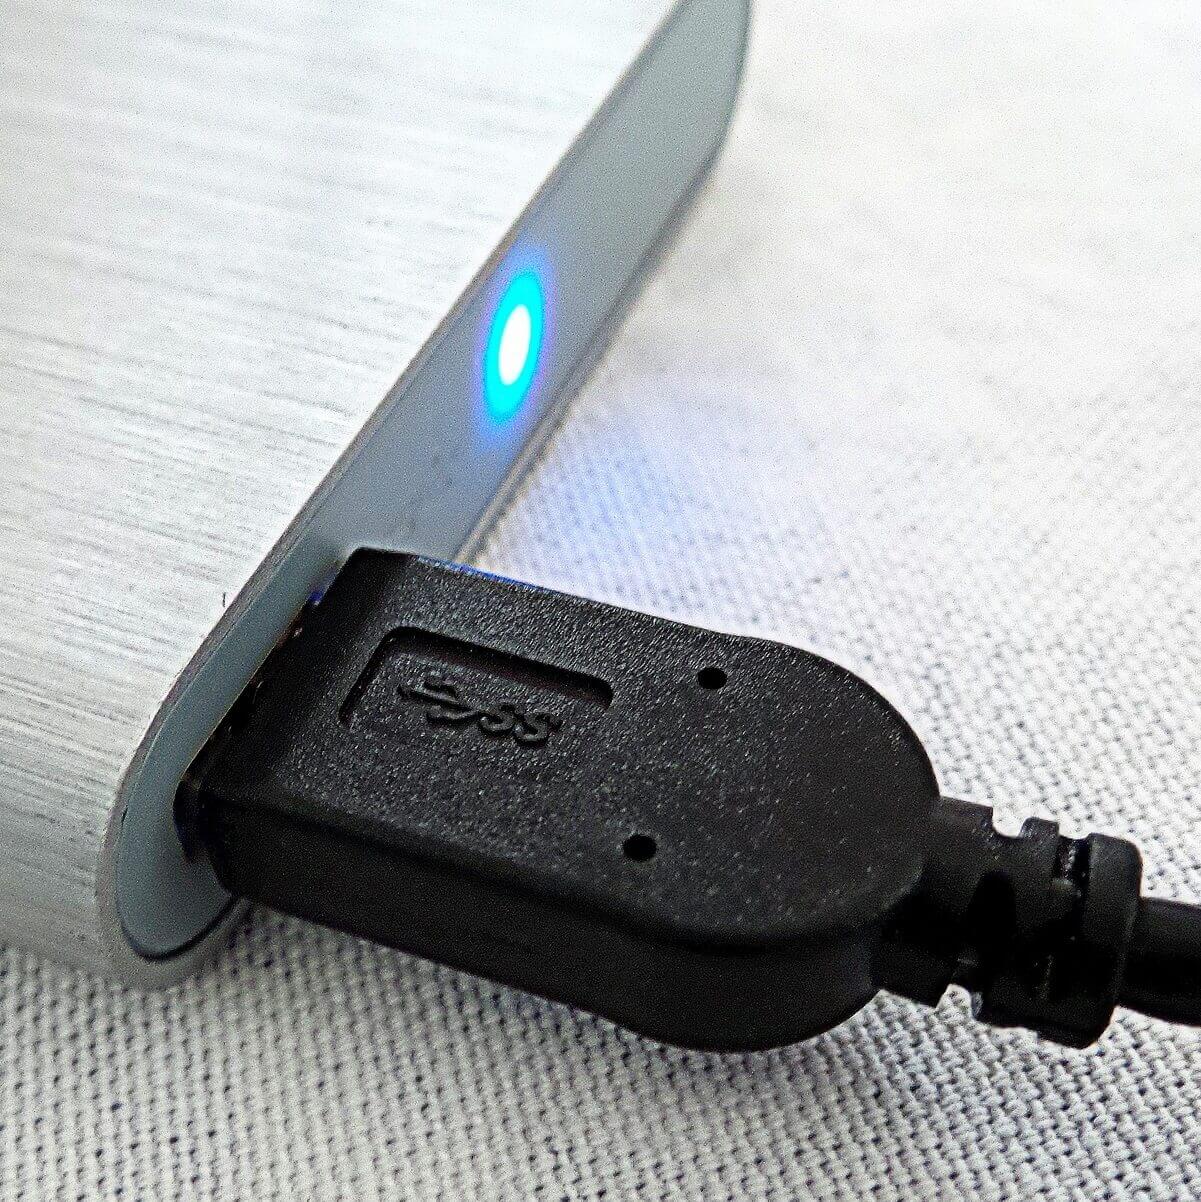
Windows 10 already has improved booting time compared to previous versions of Windows, but moving it from a regular HDD to a new SDD will improve the booting time and overall performance of the system even more.
Many users are wondering if can they move the OS to an SSD without losing any data. There are a couple of ways to transfer your system data from your current HDD to a new SDD, and we’re going to talk about all of them in this article.
Probably the simplest solution is performing a clean install on the SSD drive, but you will lose all your data, and you’ll have to install all your programs once again.
And it could take even more time than moving an already installed operating system. But if you don’t like to experiment, you might choose this path.
Installing a fresh copy of Windows 10 on an SSD drive is no different than installing it on an HDD. You have to format your current system partition, and then just install the fresh copy of Windows 10 on an SSD.
A fresh Windows install can help you get rid of malware? Here’s how to do it yourself.
How do I move Windows 10 to an SDD?
But there’s also a way to move already installed system to an SSD, without performing a clean install. All you have to do is to clone your system partition to the SSD, and you’re good to go.
In short, you need to back up your drive, reduce your disk space, copy your system partition to the SSD, and format the system partition on your HDD.
Is that all so simple? No, it requires some work on your side to move the OS properly. And in the remainder of the article, we’re going to show you all the necessary instructions to move your installed system to the SSD drive properly.
But before all, you must backup your data, because if something goes wrong, you might lose it forever, and it will be required for the process.
When you backed up your drive, it’s time to get rid of the additional disk space, because SSDs have much less space than regular hard disks, so we want your system partition to fit on the SSD drive.
So, delete your personal files, music, photos, videos, and particularly all non-system files to make your partition as small as possible. It’s okay to delete your personal stuff because you’ll be able to get it back from the backup, once the process is done.
It is also recommended to perform a defragmentation of your system hard drive before you move it on the SSD.
Your hard drive is too cluttered? These defrag tools can quickly save your HDD.
And now, it’s finally time to move your Windows 10 to the SSD! To do so, follow one of these steps.
How do I transfer my OS from HDD to SSD?
1. Use Laplink PCMover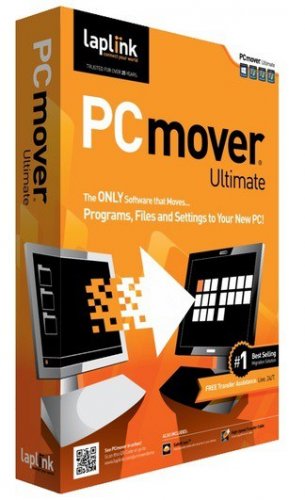
Laplink PCMover is a small desktop application that can help you to easily move all your files, settings, and user profiles to your SSD. All you need to do is download the software and follow the simple wizard steps.
With Laplink PCMover, the whole process is hasslefree, extremely user-friendly, and intuitive. The programs are installed and ready to use right away.
Extremely important, you don’t need OS images, DVDs, download links, OS keys, or similar. You just need to configure the transfer and the tool will do the rest for you!
Laplink PCMover
Laplink PCMover helps you transfer all essential files, folders, and apps from your PC to an SSD. No additional OS images, no CDs, or program keys needed!
- First, download Laplink PCMover on both your computer and your SSD. (Make sure the SSD is connected to your computer at all stages of the process.)
- Then, open the tool on both your PC and SSD.
- Choose which network method you will use to connect your systems for the transfer. Laplink recommends using a WiFi.
- Then follow the on-screen prompts to allow the tool to discover the SSD (seen as New PC).
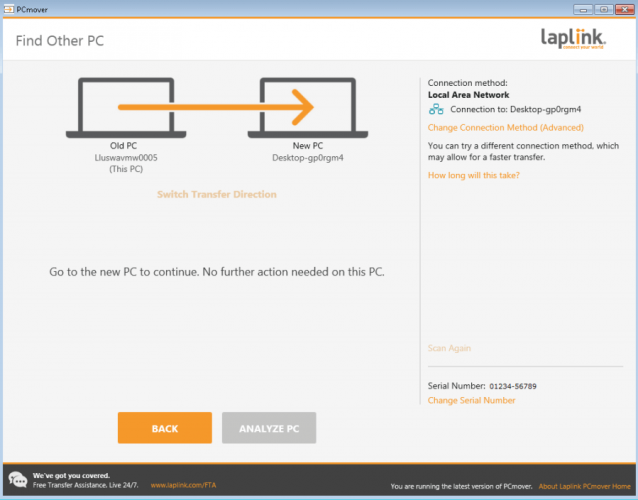
- Once the two are connected, open Laplink PCMover on the SSD.
- Click on Analyze PC, then follow the prompts to customize what you want to be transferred and allow the transfer to complete.
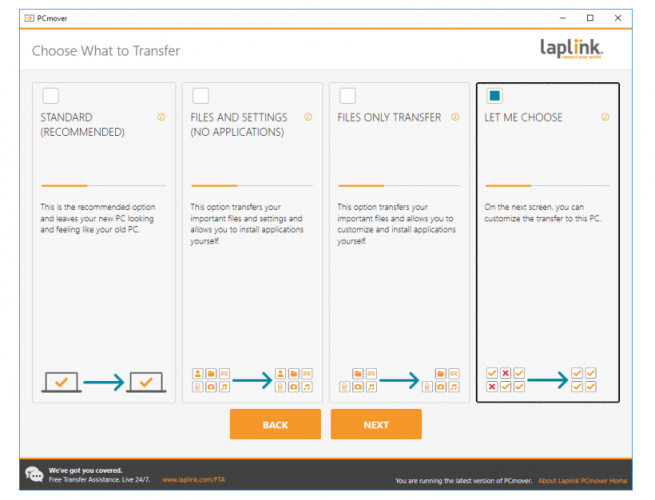
It will take a few hours for the process to finish.
2. Use AOMEI Backupper
- First of all, you need to download and install the AOMEI Backupper to your machine.
- Then, you need to connect your hard drive to your computer.
- Now, go to Clonea, then to System Clone to launch the process.
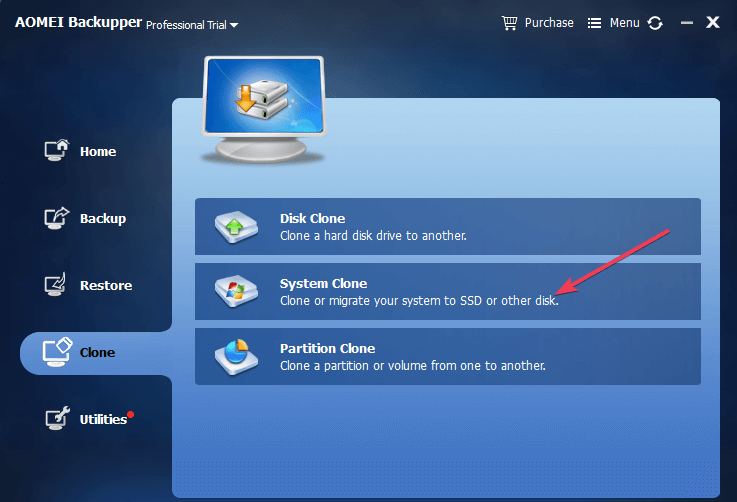
- Your machine should now display a new window asking you where you want to move the OS files. Select your SSD and confirm your choice.
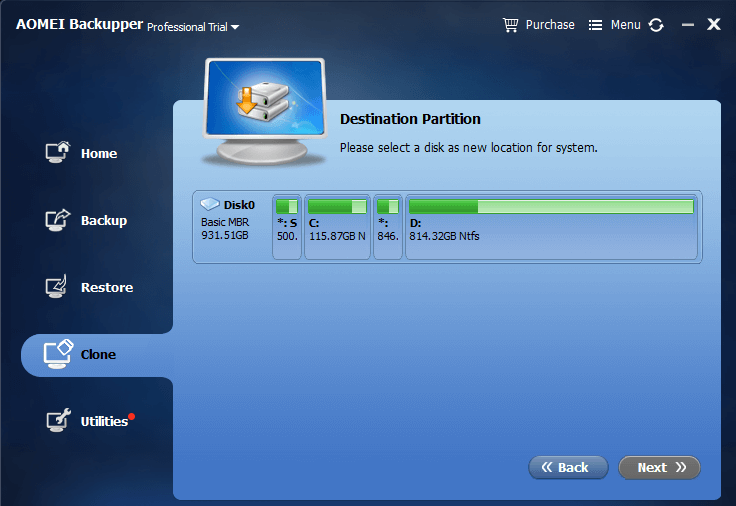
- Hit Next and follow the on-screen instructions to complete the process. It’s as simple as that.
Editor's choice
- Disaster recovery solution
- Real-time file&folder syncing
- Supports Windows 10, 8.1/8, 7
If Windows won’t activate after the cloning process is complete, follow this guide to solve the problem.
And that’s about that, your Windows 10 is now successfully moved to the SSD drive, and it will perform a lot faster from now on.
How to restore your personal files and user folders
Since you probably don’t have enough space on your SSD, we’ll have to restore your files to the old, formatted HDD drive.
First, go to your old drive (which is now completely empty), and create a new folder to store all your user folders and personal files. Name it whatever you want (we used WinReport).
Now, go to C:Users<your username> and you should see all your user folders there. Right-click on each one, go to Properties and then go to Location tab.
Click on the Move button, and choose your newly created folder as the target. And all your user folders, like Desktop, Downloads, Documents, Pictures, Music, etc. should all be placed on your old HDD Drive.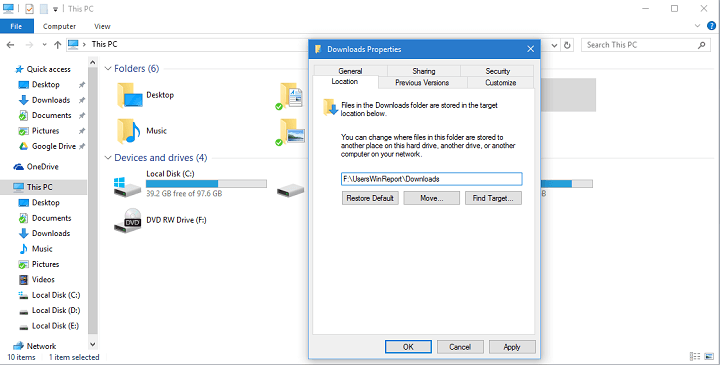
And finally, the only thing left to do is restoring your personal files. To restore your personal files to the old HDD drive, follow these steps:
- Open your backup (whatever you chose to be your backup destination, cloud, external storage, another partition, etc.)
- And now drag all your user files (documents, music, pictures, and other files) to your new My Documents, My Music, and other folders.
By doing this, all your personal files will be accessible, besides the fact that they’re not on the system partition. But you may need to change the settings of your favorite apps and games because they’ll probably save files in the old My Documents.
If you’re looking to reinstall your Windows 10 apps on the new drive, check out this guide for a seamless transition.
That would be all, we presented you a full guide on how to move your Windows 10 system from your old HDD partition to the SSD, and how to get everything to work.
If you followed our instructions, and successfully moved your system to the SSD, please tell us your impressions in the comments section below and we’ll be sure to take a look.
FAQ: Read more about solutions to move your OS
- How do I move my OS to an SSD for free?
We recommend using a third-party tool that will do this for you. Check out this guide for step-by-step instructions.
- How big should an SSD be for Windows 10?
It’s recommended to have at least 20GB of free space on your new SSD to transfer or install Windows 10.
- What is the best SSD for Windows 10?
There are a lot of options out there, but narrow down the list by looking at capacity, transfer speed, and of course, price. We have some recommendations in this updated list.
Editor’s Note: This post was originally published in December 2015 and has been updated for freshness, and accuracy in June 2020.
Was this page helpful?
Get the most from your tech with our daily tips
and
If you are looking for a cheap and genuine microsoft product key, warranty for 1 year.
It will be available at the link: https://officerambo.com/shop/
Microsoft Windows Embedded 8.1 Industry Pro : https://officerambo.com/product/windows-embedded-8-1/
Key Windows 7 Professional / Home Base / Home Premium (2 USER) : https://officerambo.com/product/key-windows-7/
Microsoft Windows 8.1 PRO (2 PC) : https://officerambo.com/product/microsoft-windows-8-1-pro/
Windows Server 2012 R2 : https://officerambo.com/product/windows-server-2012-r2/
Visual Studio Enterprise 2019 : https://officerambo.com/product/visual-studio-enterprise-2019/
Windows Server Standard / Datacenter / Essentials : https://officerambo.com/product/windows-server-all-version-standard-datacenter-essentials/
Microsoft Office Professional Plus for Windows : https://officerambo.com/product/microsoft-office-professional-plus-for-windows/
Microsoft Office Home and Student for Windows : https://officerambo.com/product/microsoft-office-home-and-student/
Key Microsoft Access 2016 : https://officerambo.com/product/key-microsoft-access-2016/
Microsoft Visio Professional : https://officerambo.com/product/microsoft-visio-professional/
Microsoft Project Professional : https://officerambo.com/product/microsoft-project-professional/
Account Microsoft Office 365 Profestional Plus 2020 Update For 5 Devices : https://officerambo.com/product/account-microsoft-office-365/
Key Microsoft Windows 10 Profestional / Profestional N : https://officerambo.com/product/key-microsoft-windows-10/
Key Microsoft Windows XP Pro : https://officerambo.com/product/key-microsoft-windows-xp-pro/
Microsoft Office Home and Business for Mac : https://officerambo.com/product/microsoft-office-home-and-business-for-mac/

No comments:
Post a Comment